Astronomy
Astronomy has been my passion for many years. I started watching the sky when I was 8 and I did astrophotography from my teens to my mid twenties. Amateur astronomy requires time and money and I’m no longer focusing on this. This page is here mostly to share some memories.
I’ve always loved distant stars and deep sky objects, but to take pictures of these objects it is necessary to have a sensitive camera and use long exposures. Since the Earth rotates, it is also necessary to compensate the Earth rotation to avoid seeing the stars turned into curved tracks.
My first astrophotography experiments began in 2005. Modern amateur telescopes are motorized, but at that time I could rely only on a simple newtonian 130/900 with manual pointing. My parents had an old analog (film) reflex, so I decided to mount it in parallel to the telescope (piggyback). I took pictures of the constellations while manually keeping a star centered to the eyepiece.
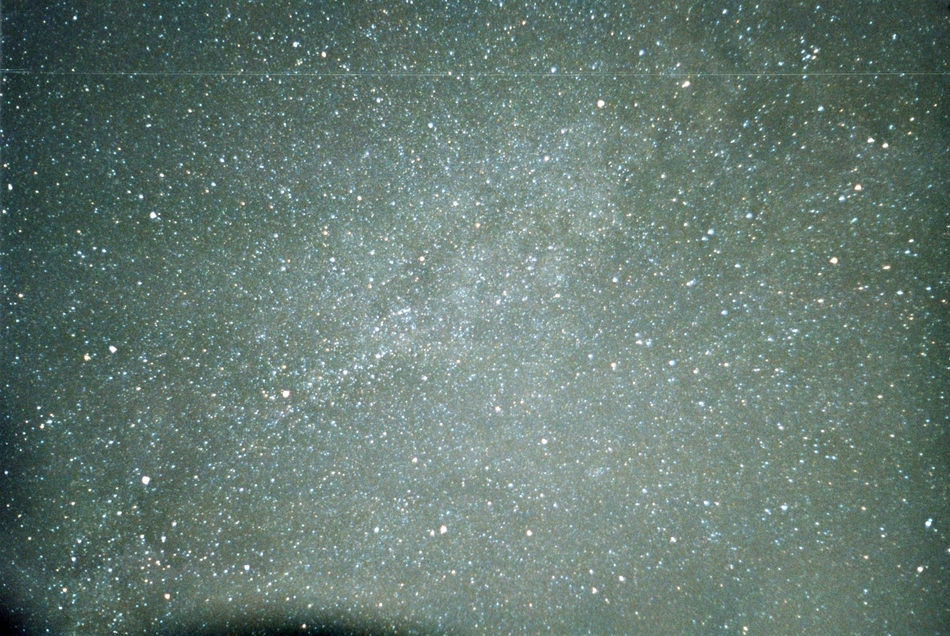
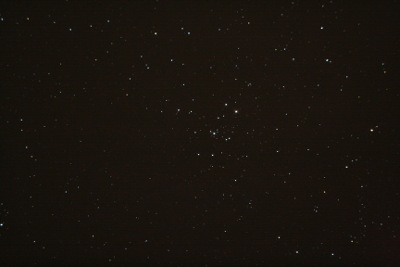
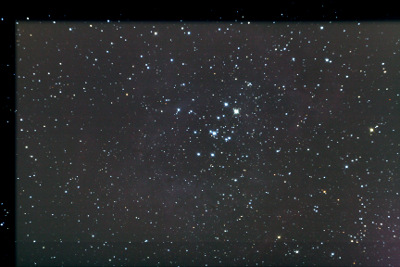
The following picture displays the Cygnus constellation photographed with this technique. It has an exposure of 300 seconds at 800 ISO using a Fujicolor Superia film, 50mm objective on a Praktica analog reflex.
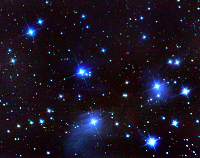
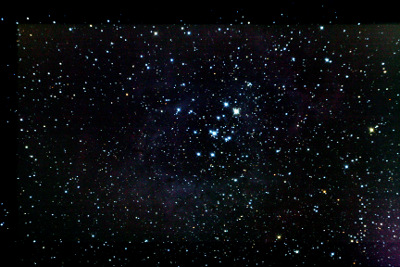
After a while I decided to upgrade my telescope to a newtonian Orion 150/750 on EQ5 motorized mount. I also purchased a digital reflex: a Canon EOS 350D. With that equipment I was able to put the camera directly on the focus of the telescope, starting to take pictures of nebulas, galaxies, star clusters and other objects.
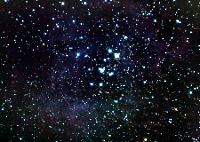
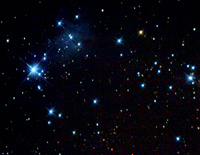
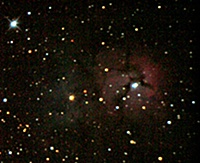
Here are my best pictures of that time.
Deep sky


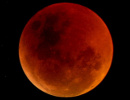
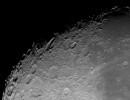
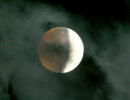
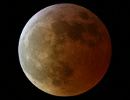
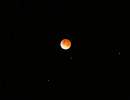
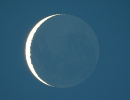
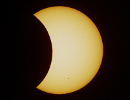
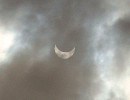
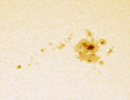
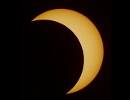
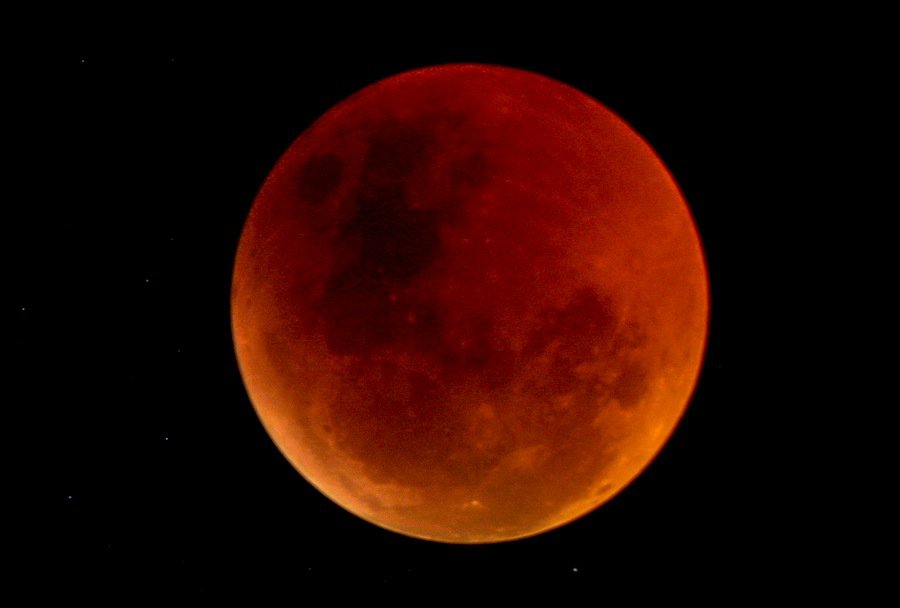
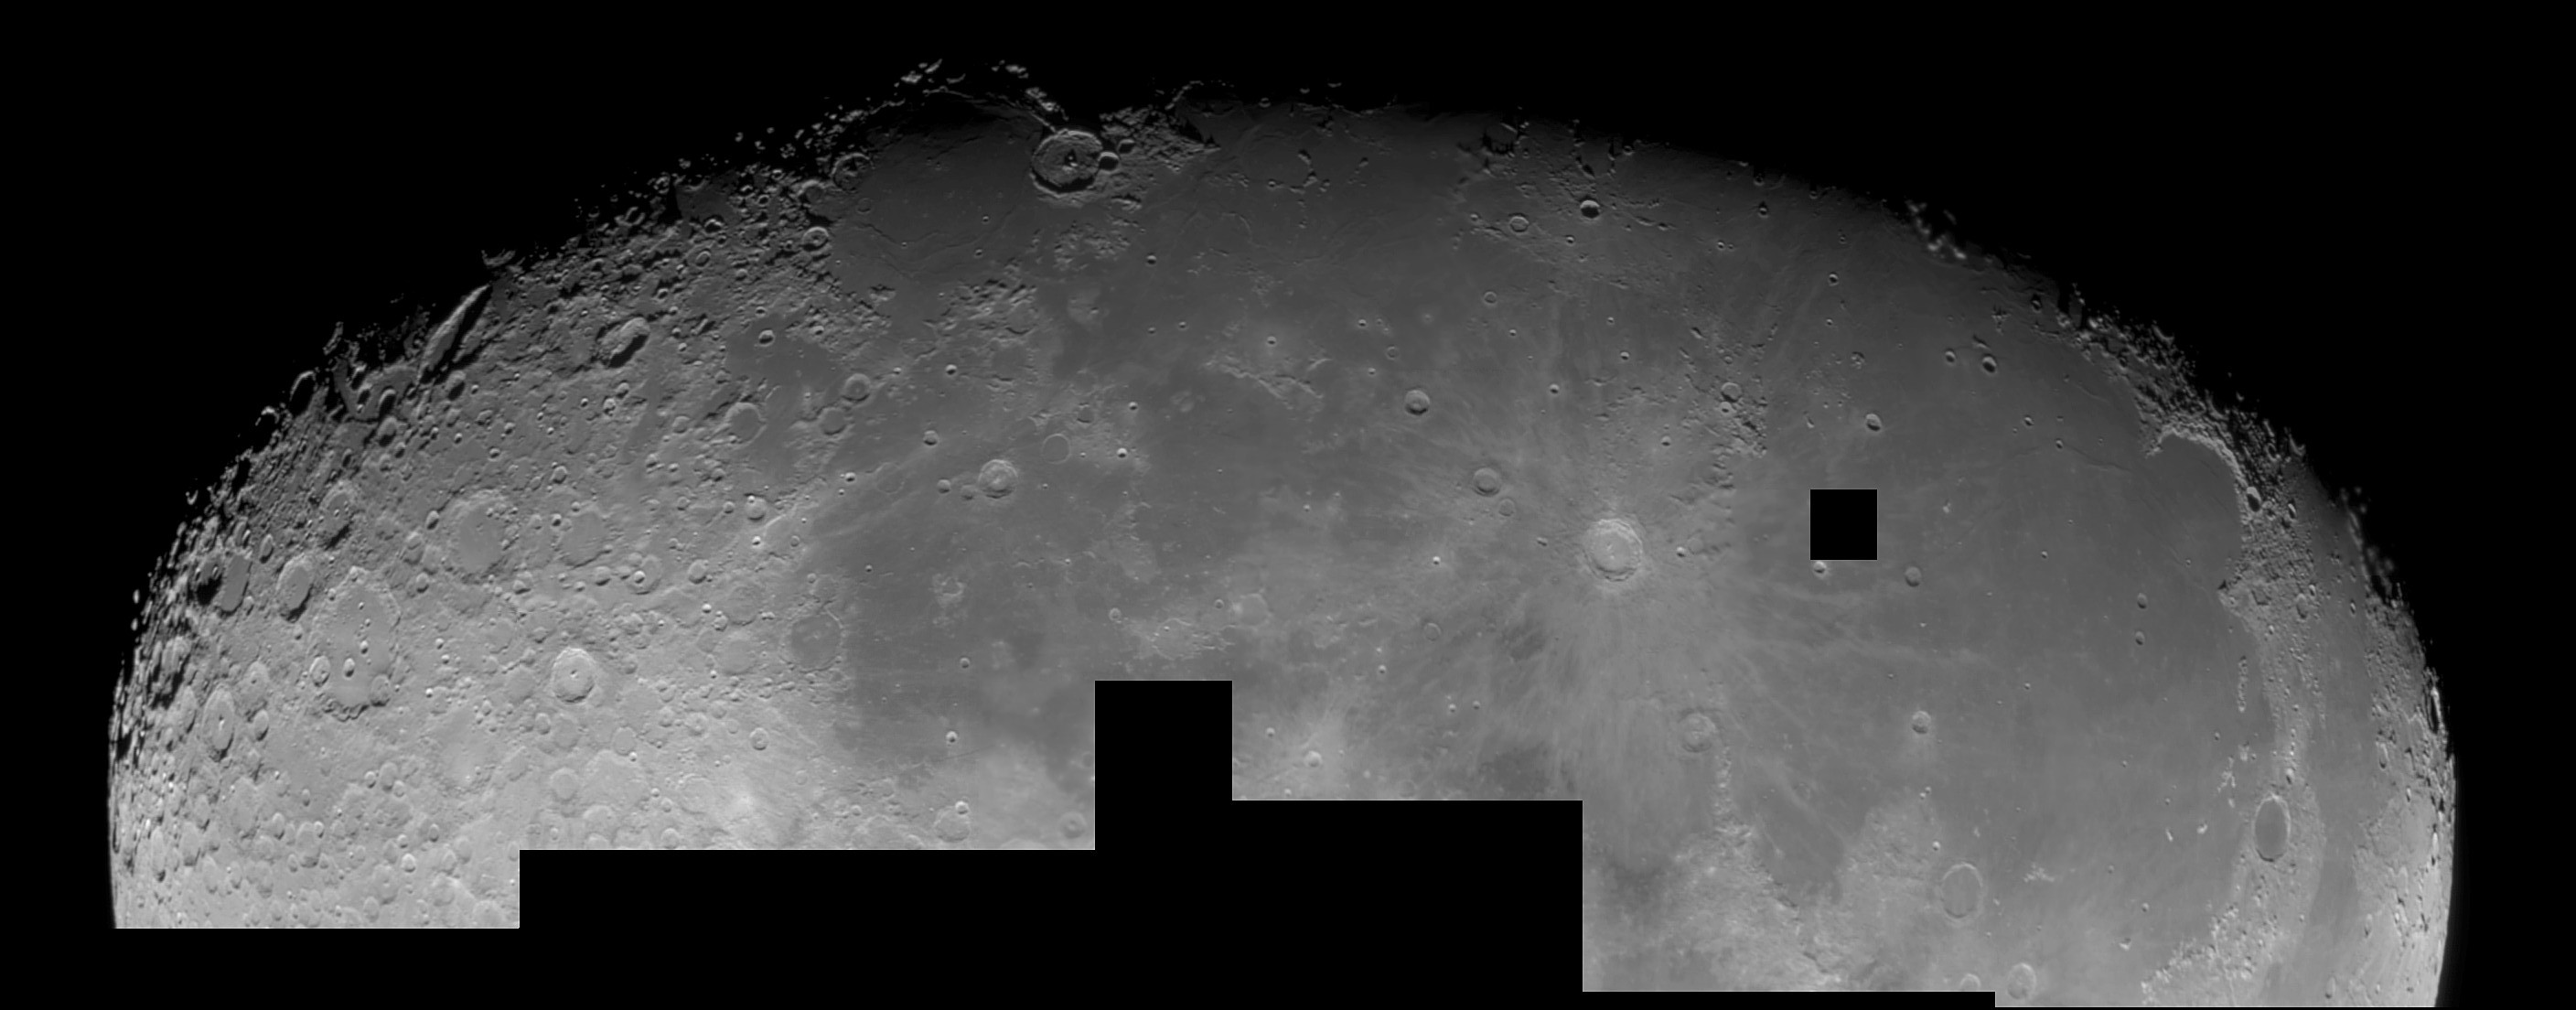
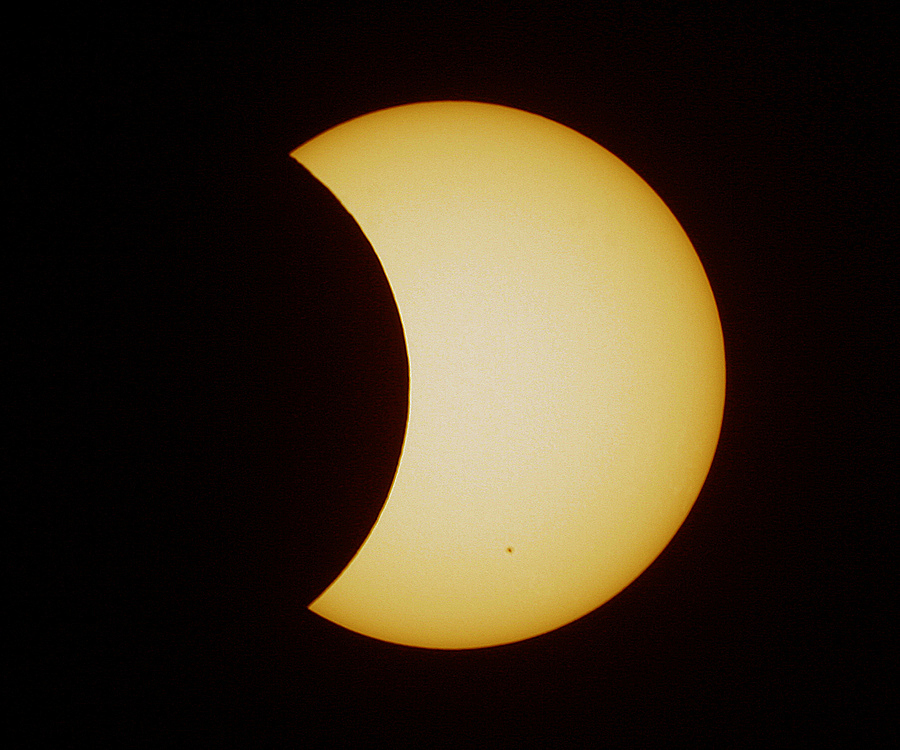
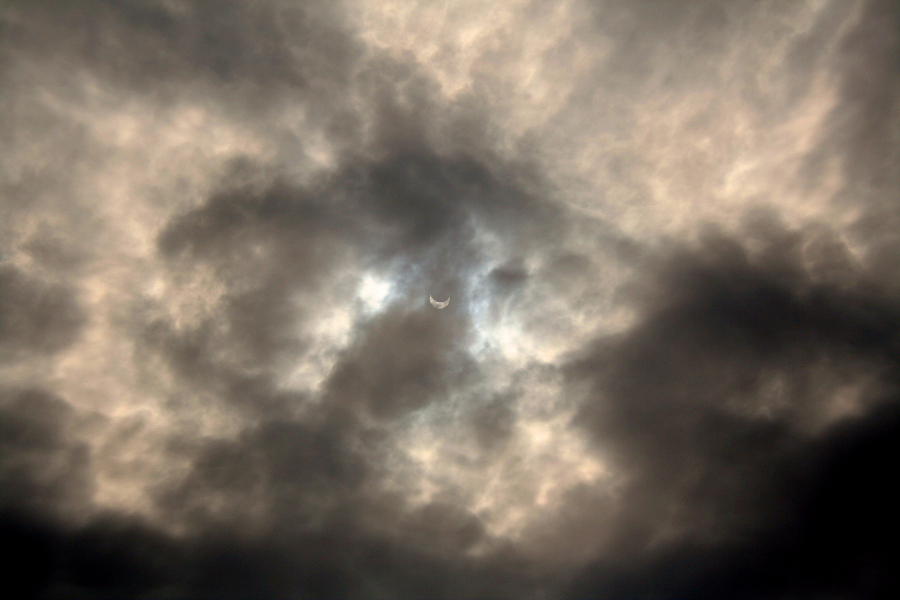
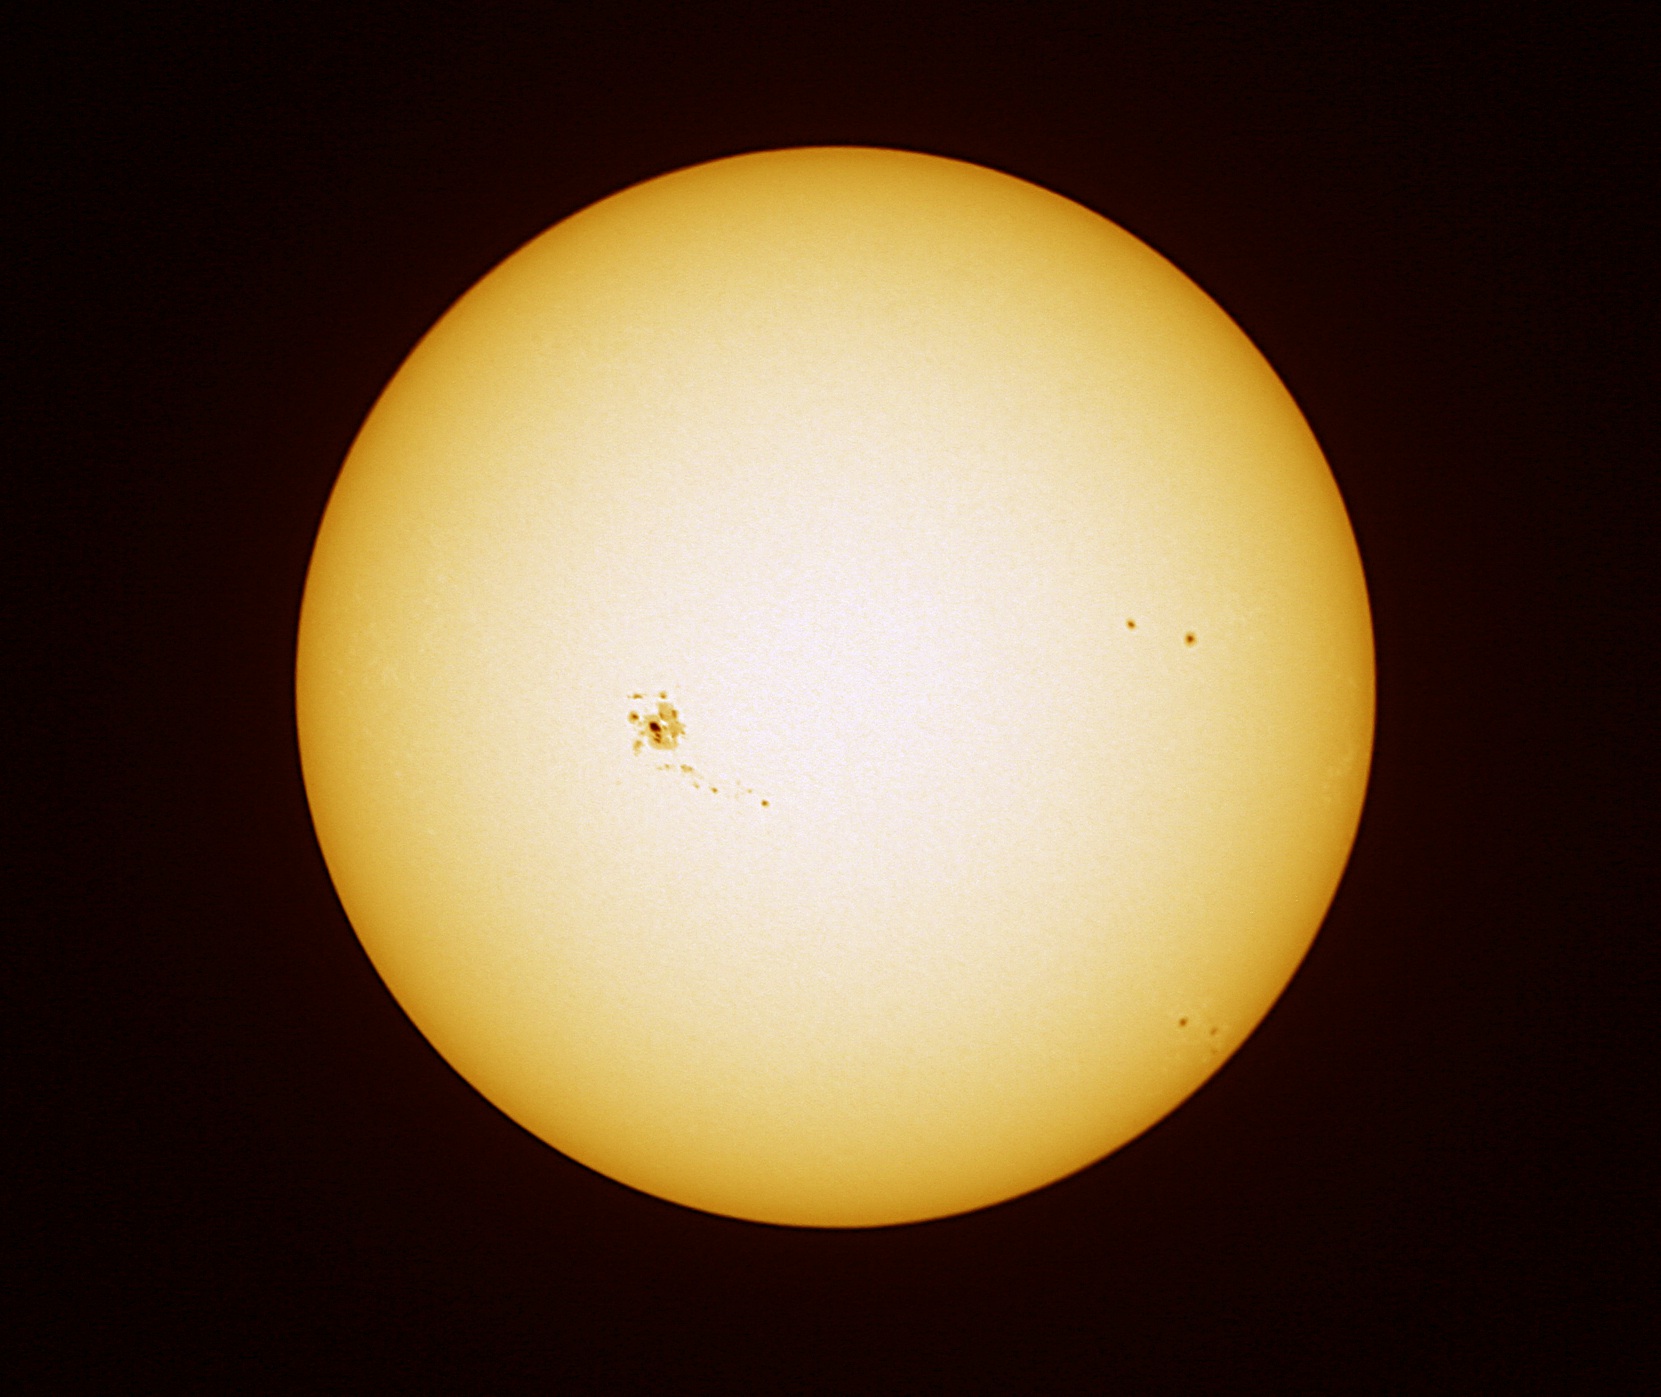
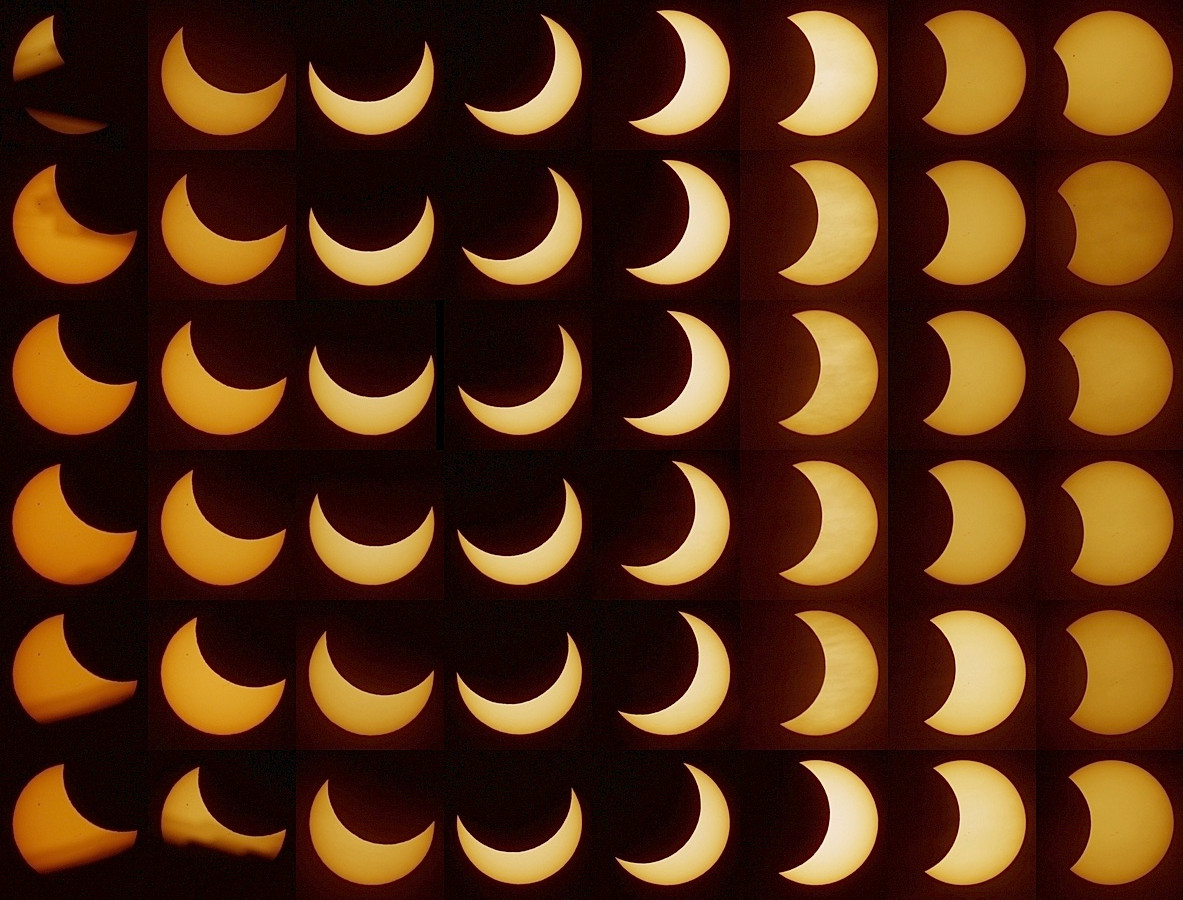
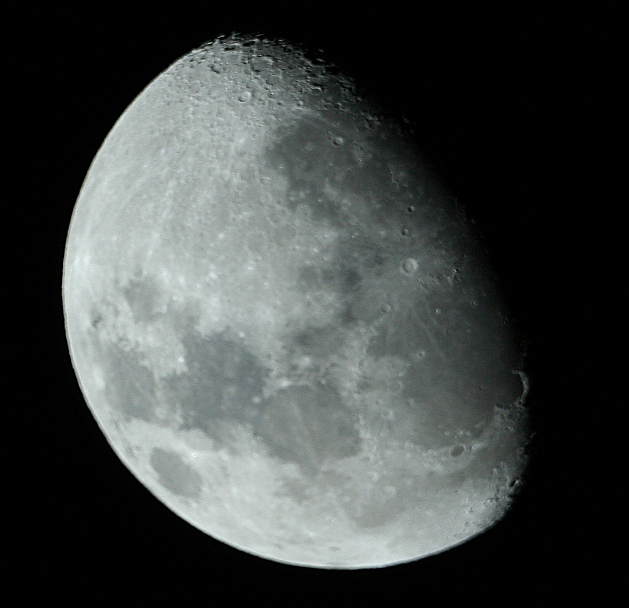
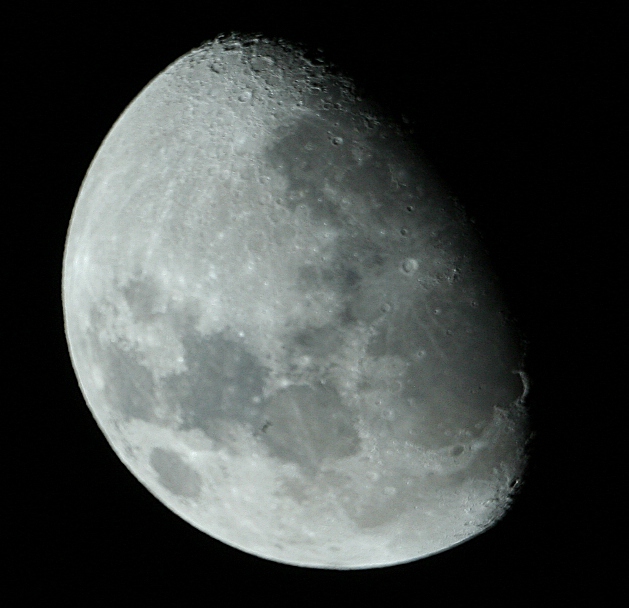
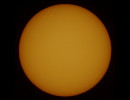
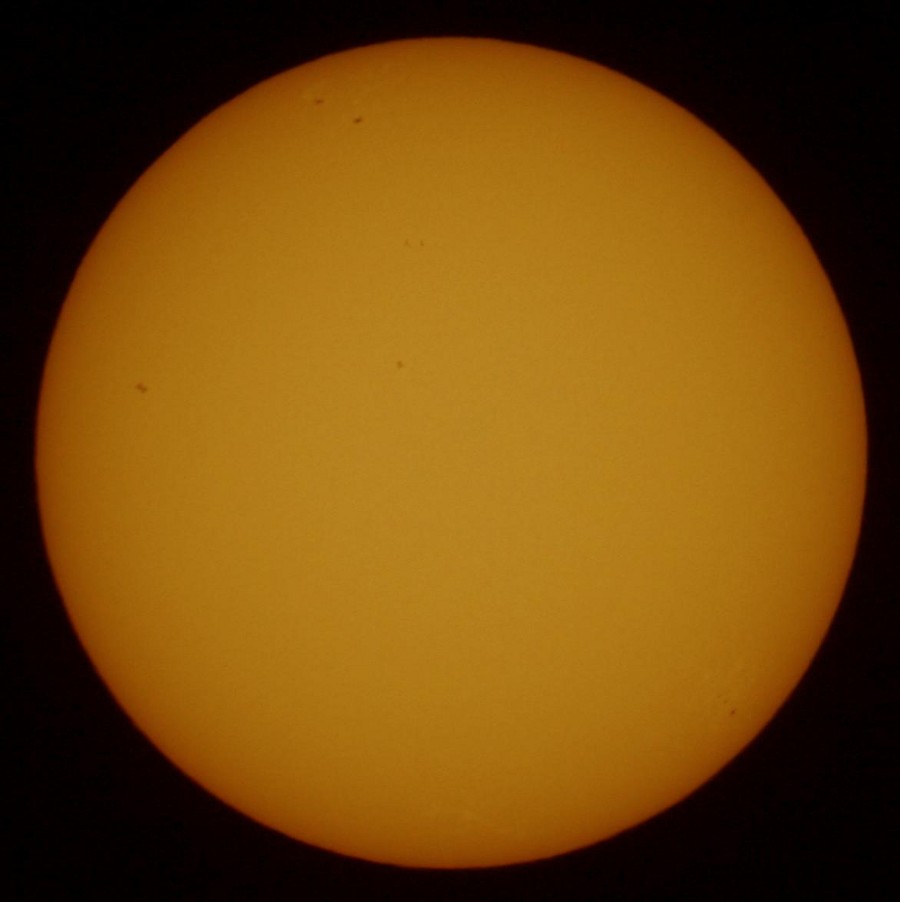
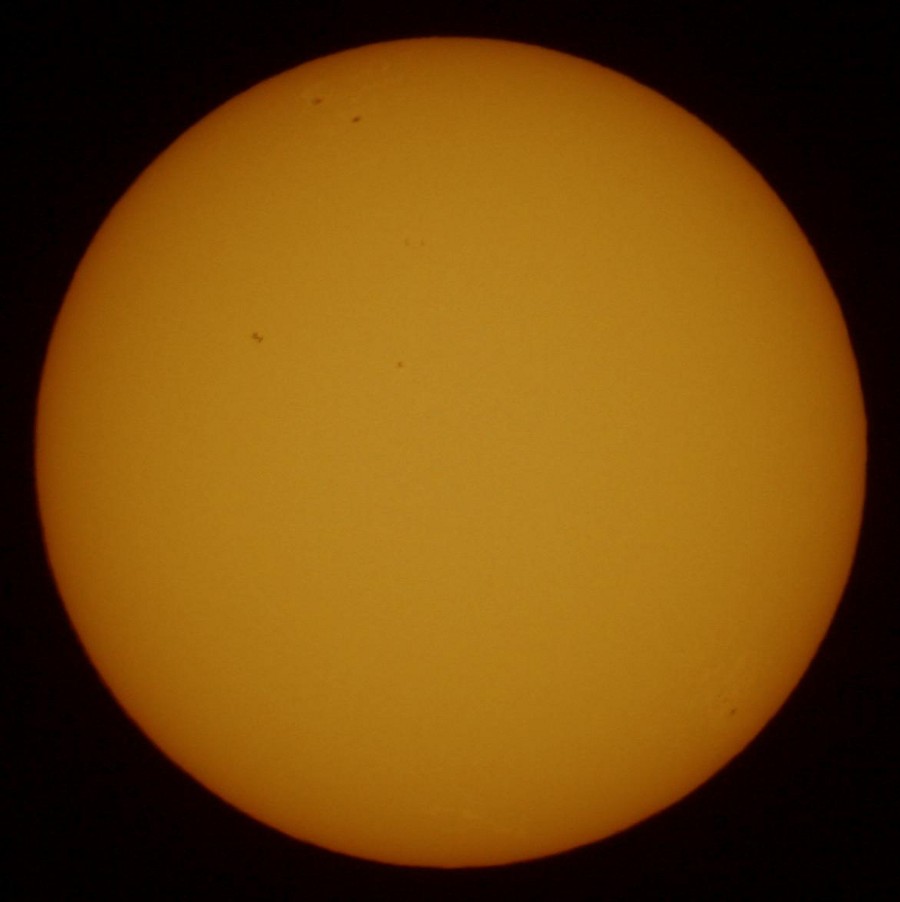
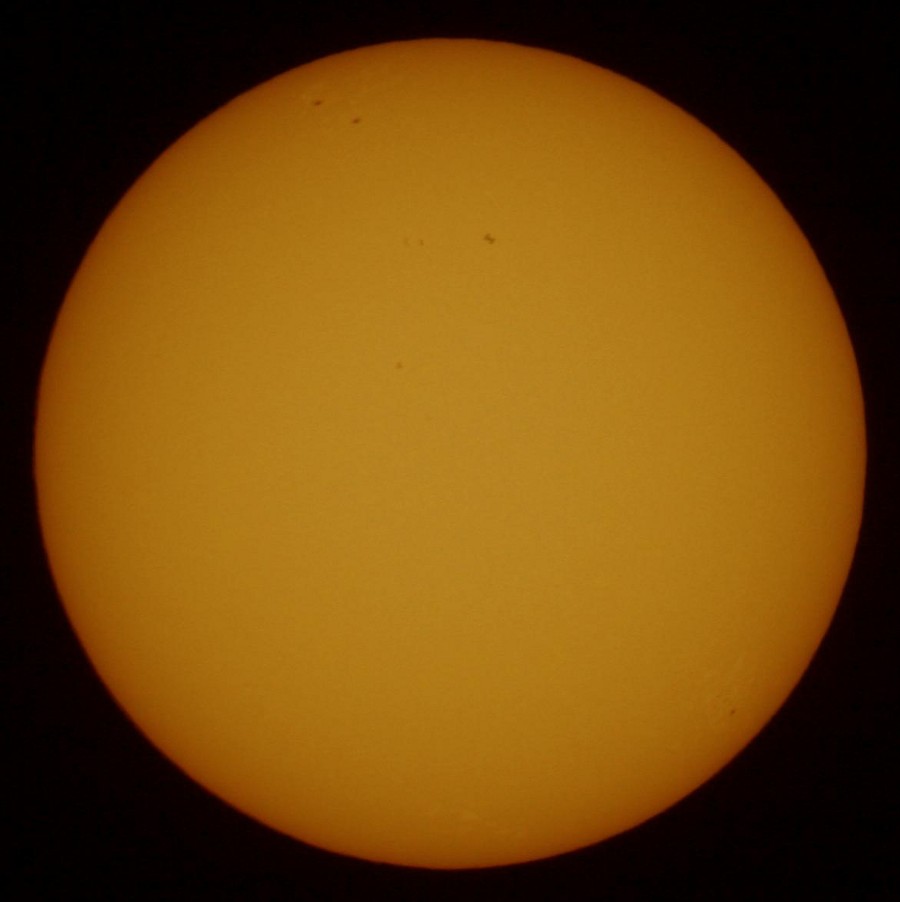
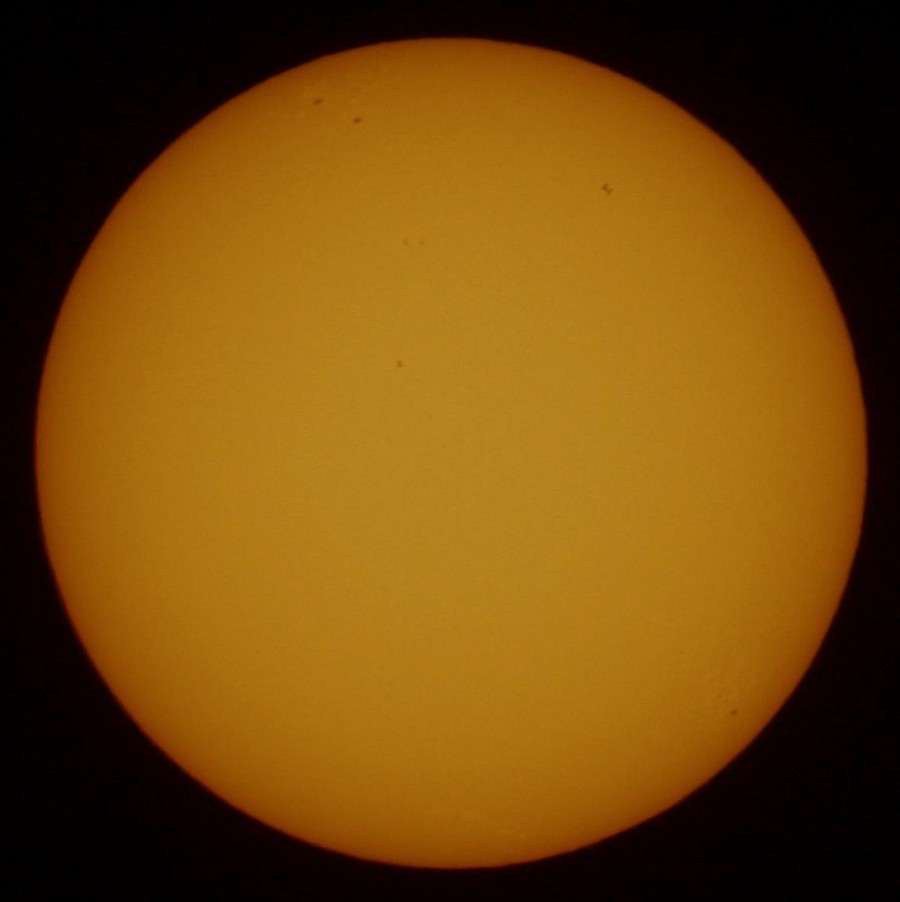
Moon and Sun
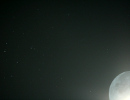


International Space Station
ISS in front of the Moon
Transit duration: 0.40 seconds


ISS in front of the Sun
Transit duration: 2.15 seconds


Differences between eyesight and astrophotography
Astronomical photos that we are used to see show coloured nebulas and galaxies full of fine details. Often amateur telescopes advertisements use this kind of photos and one could think that watching through a telescope eyepiece it is possible to see the same colours. Actually most astronomical objects observed through the eyepiece are different than their photos (even if they was obtained with the same telescope).
Main differences can be seen on nebulas, colorful in photos and small uncoloured blurry speckle in visual observations (only in rare cases it is possible to see colours through an eyepiece, with pretty big telescopes). Some nebulas and galaxies could not be visible through the eyepiece but appear in the photos.
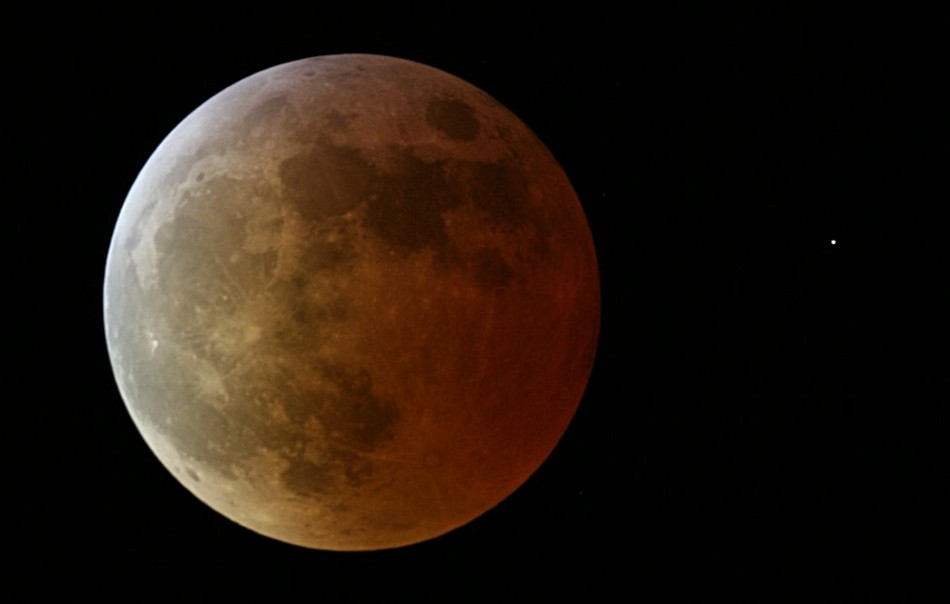
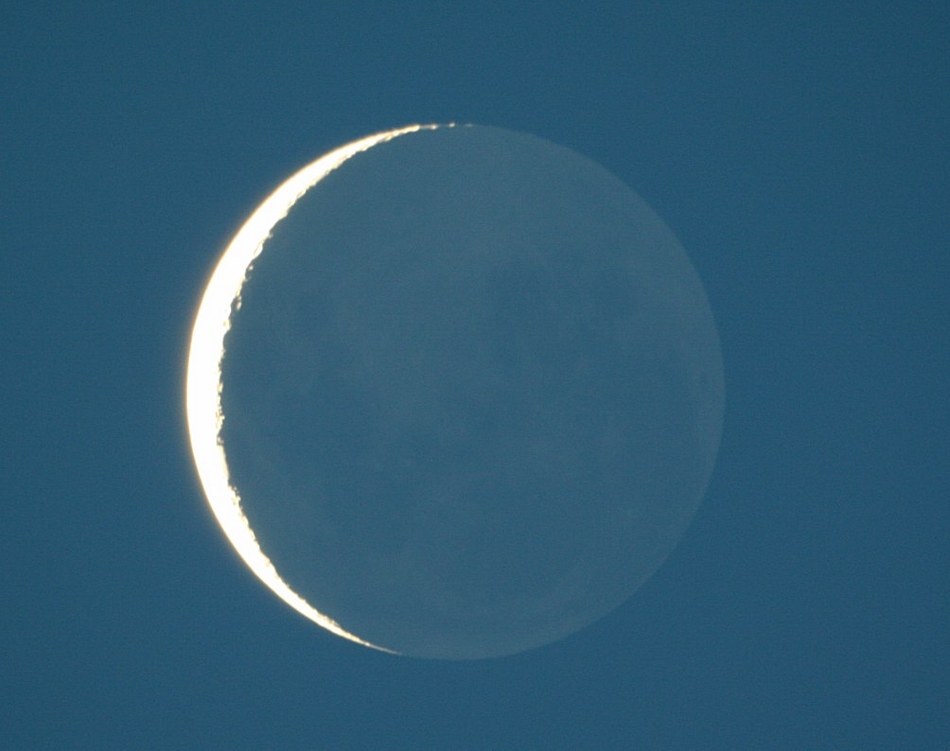
Instead, Moon and planets show their colours in visual observations too.
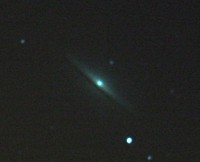
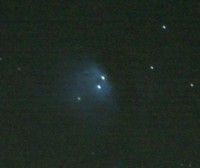
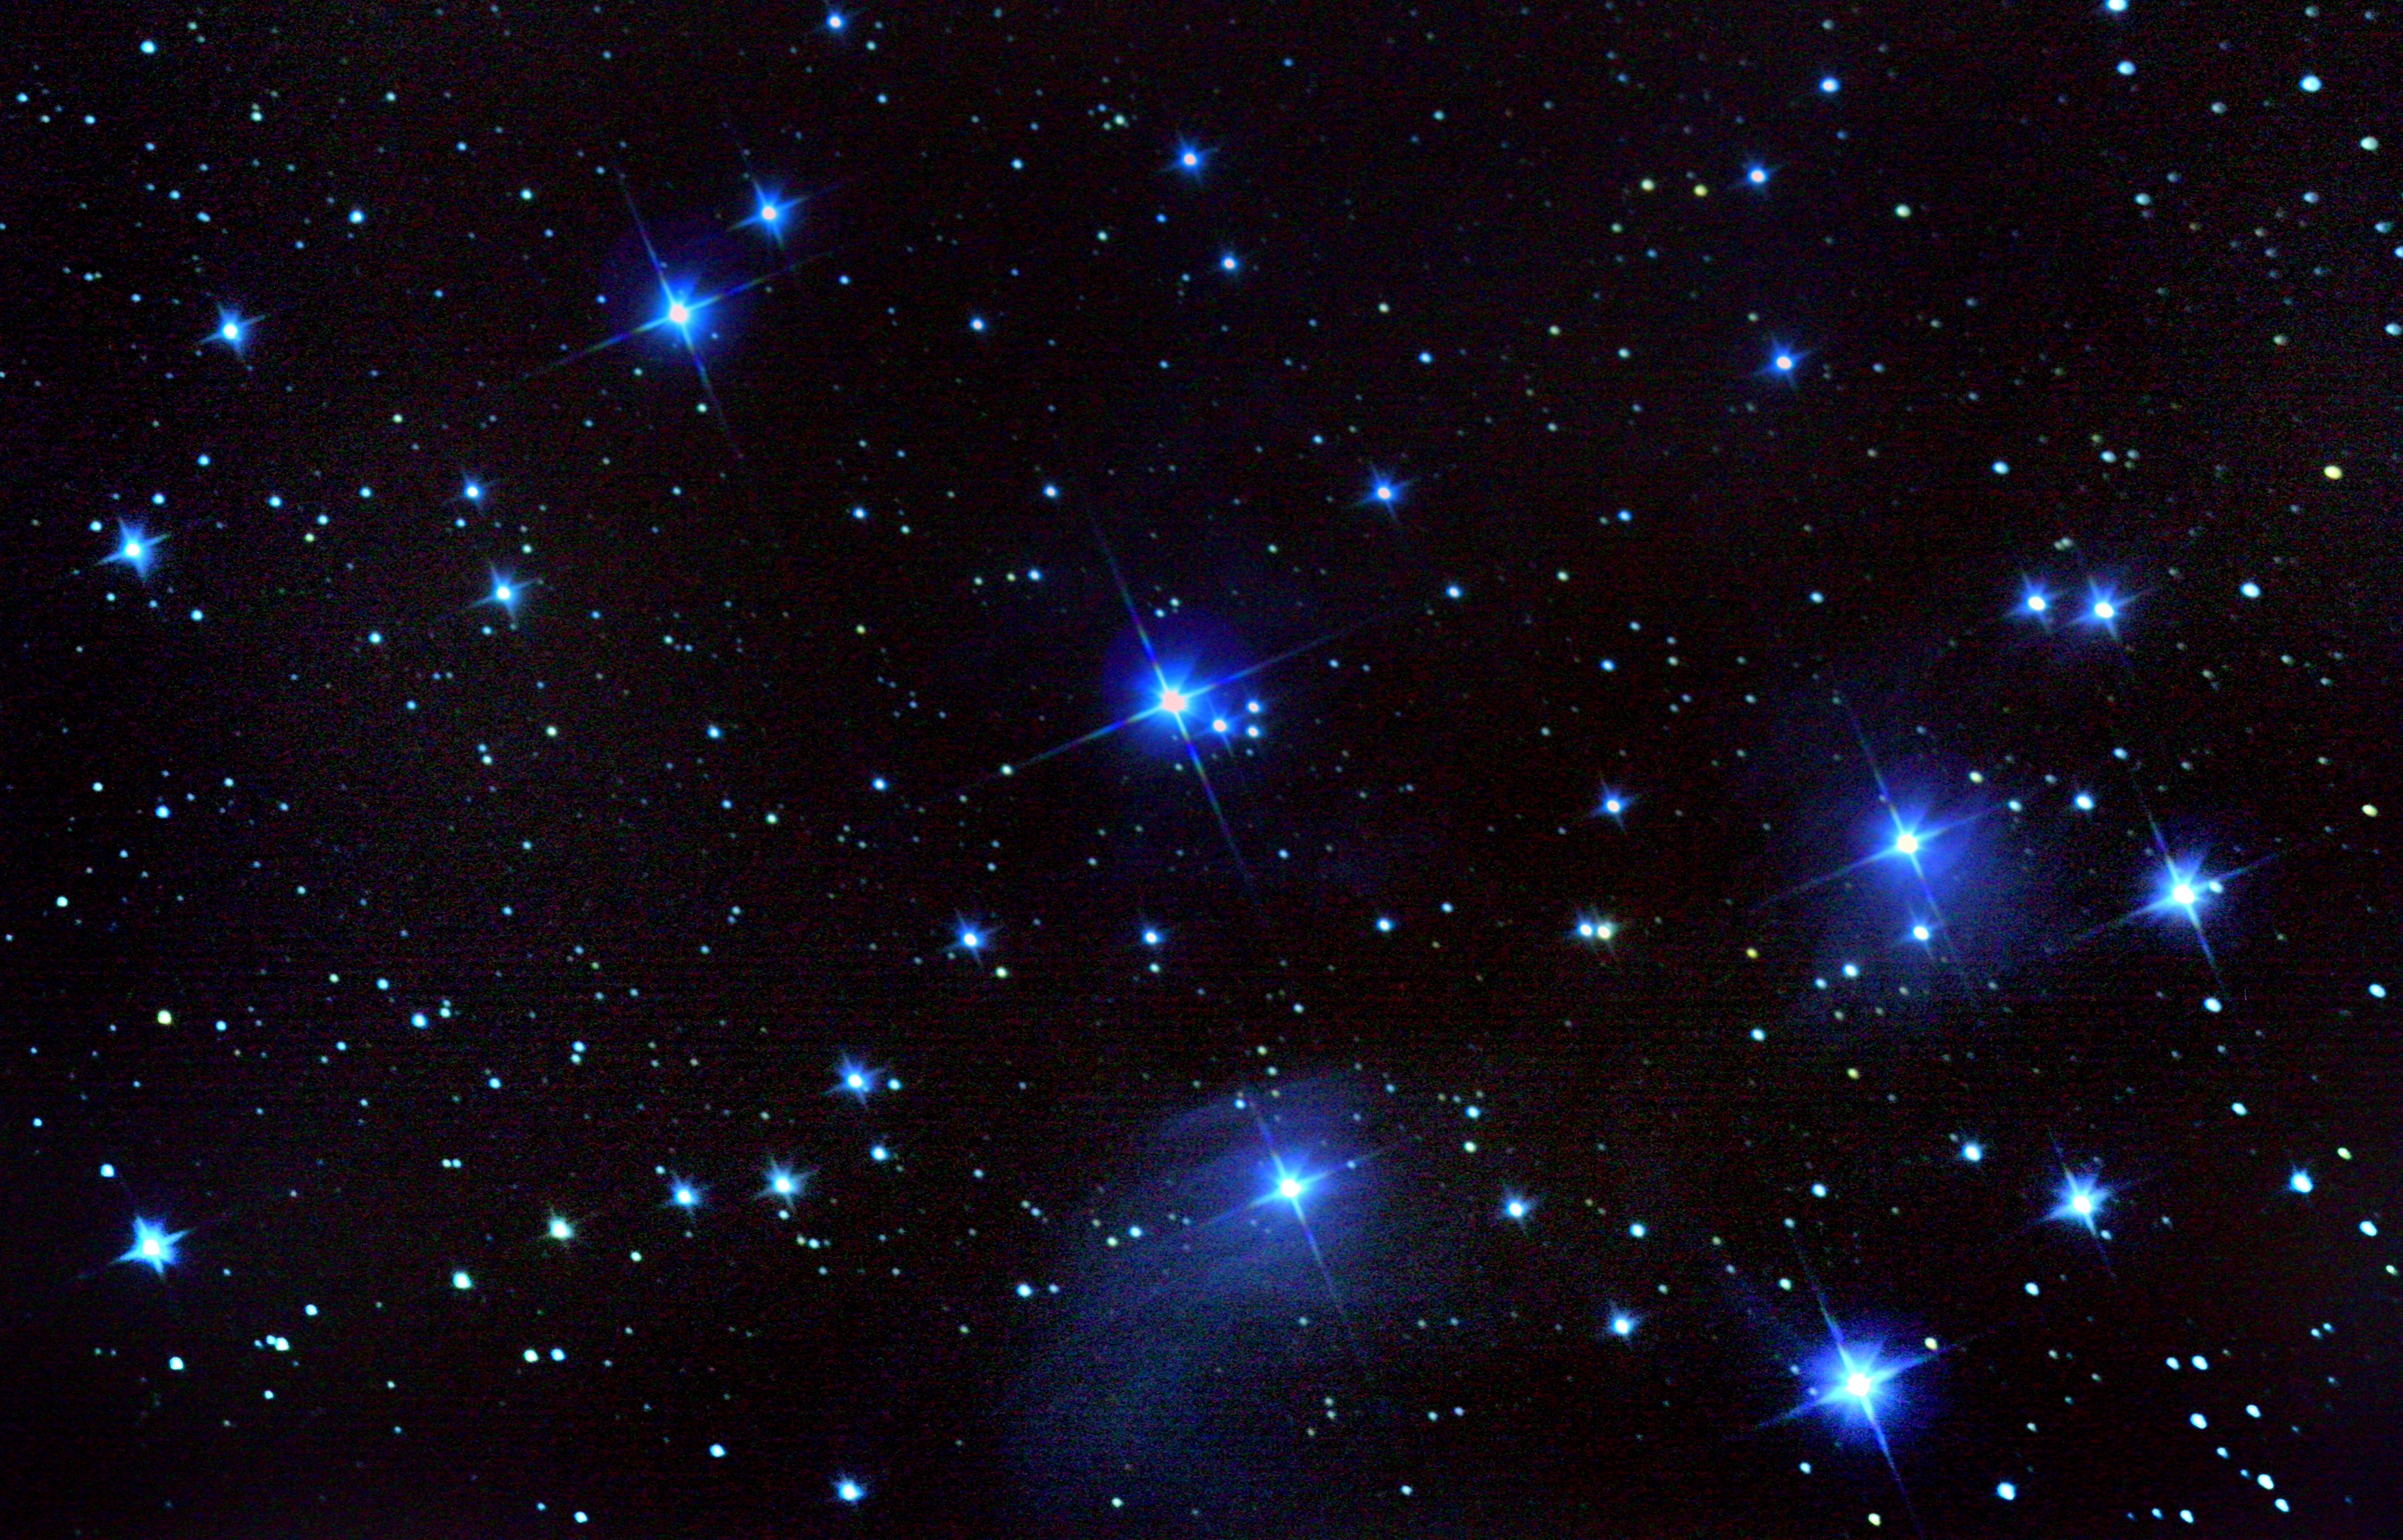
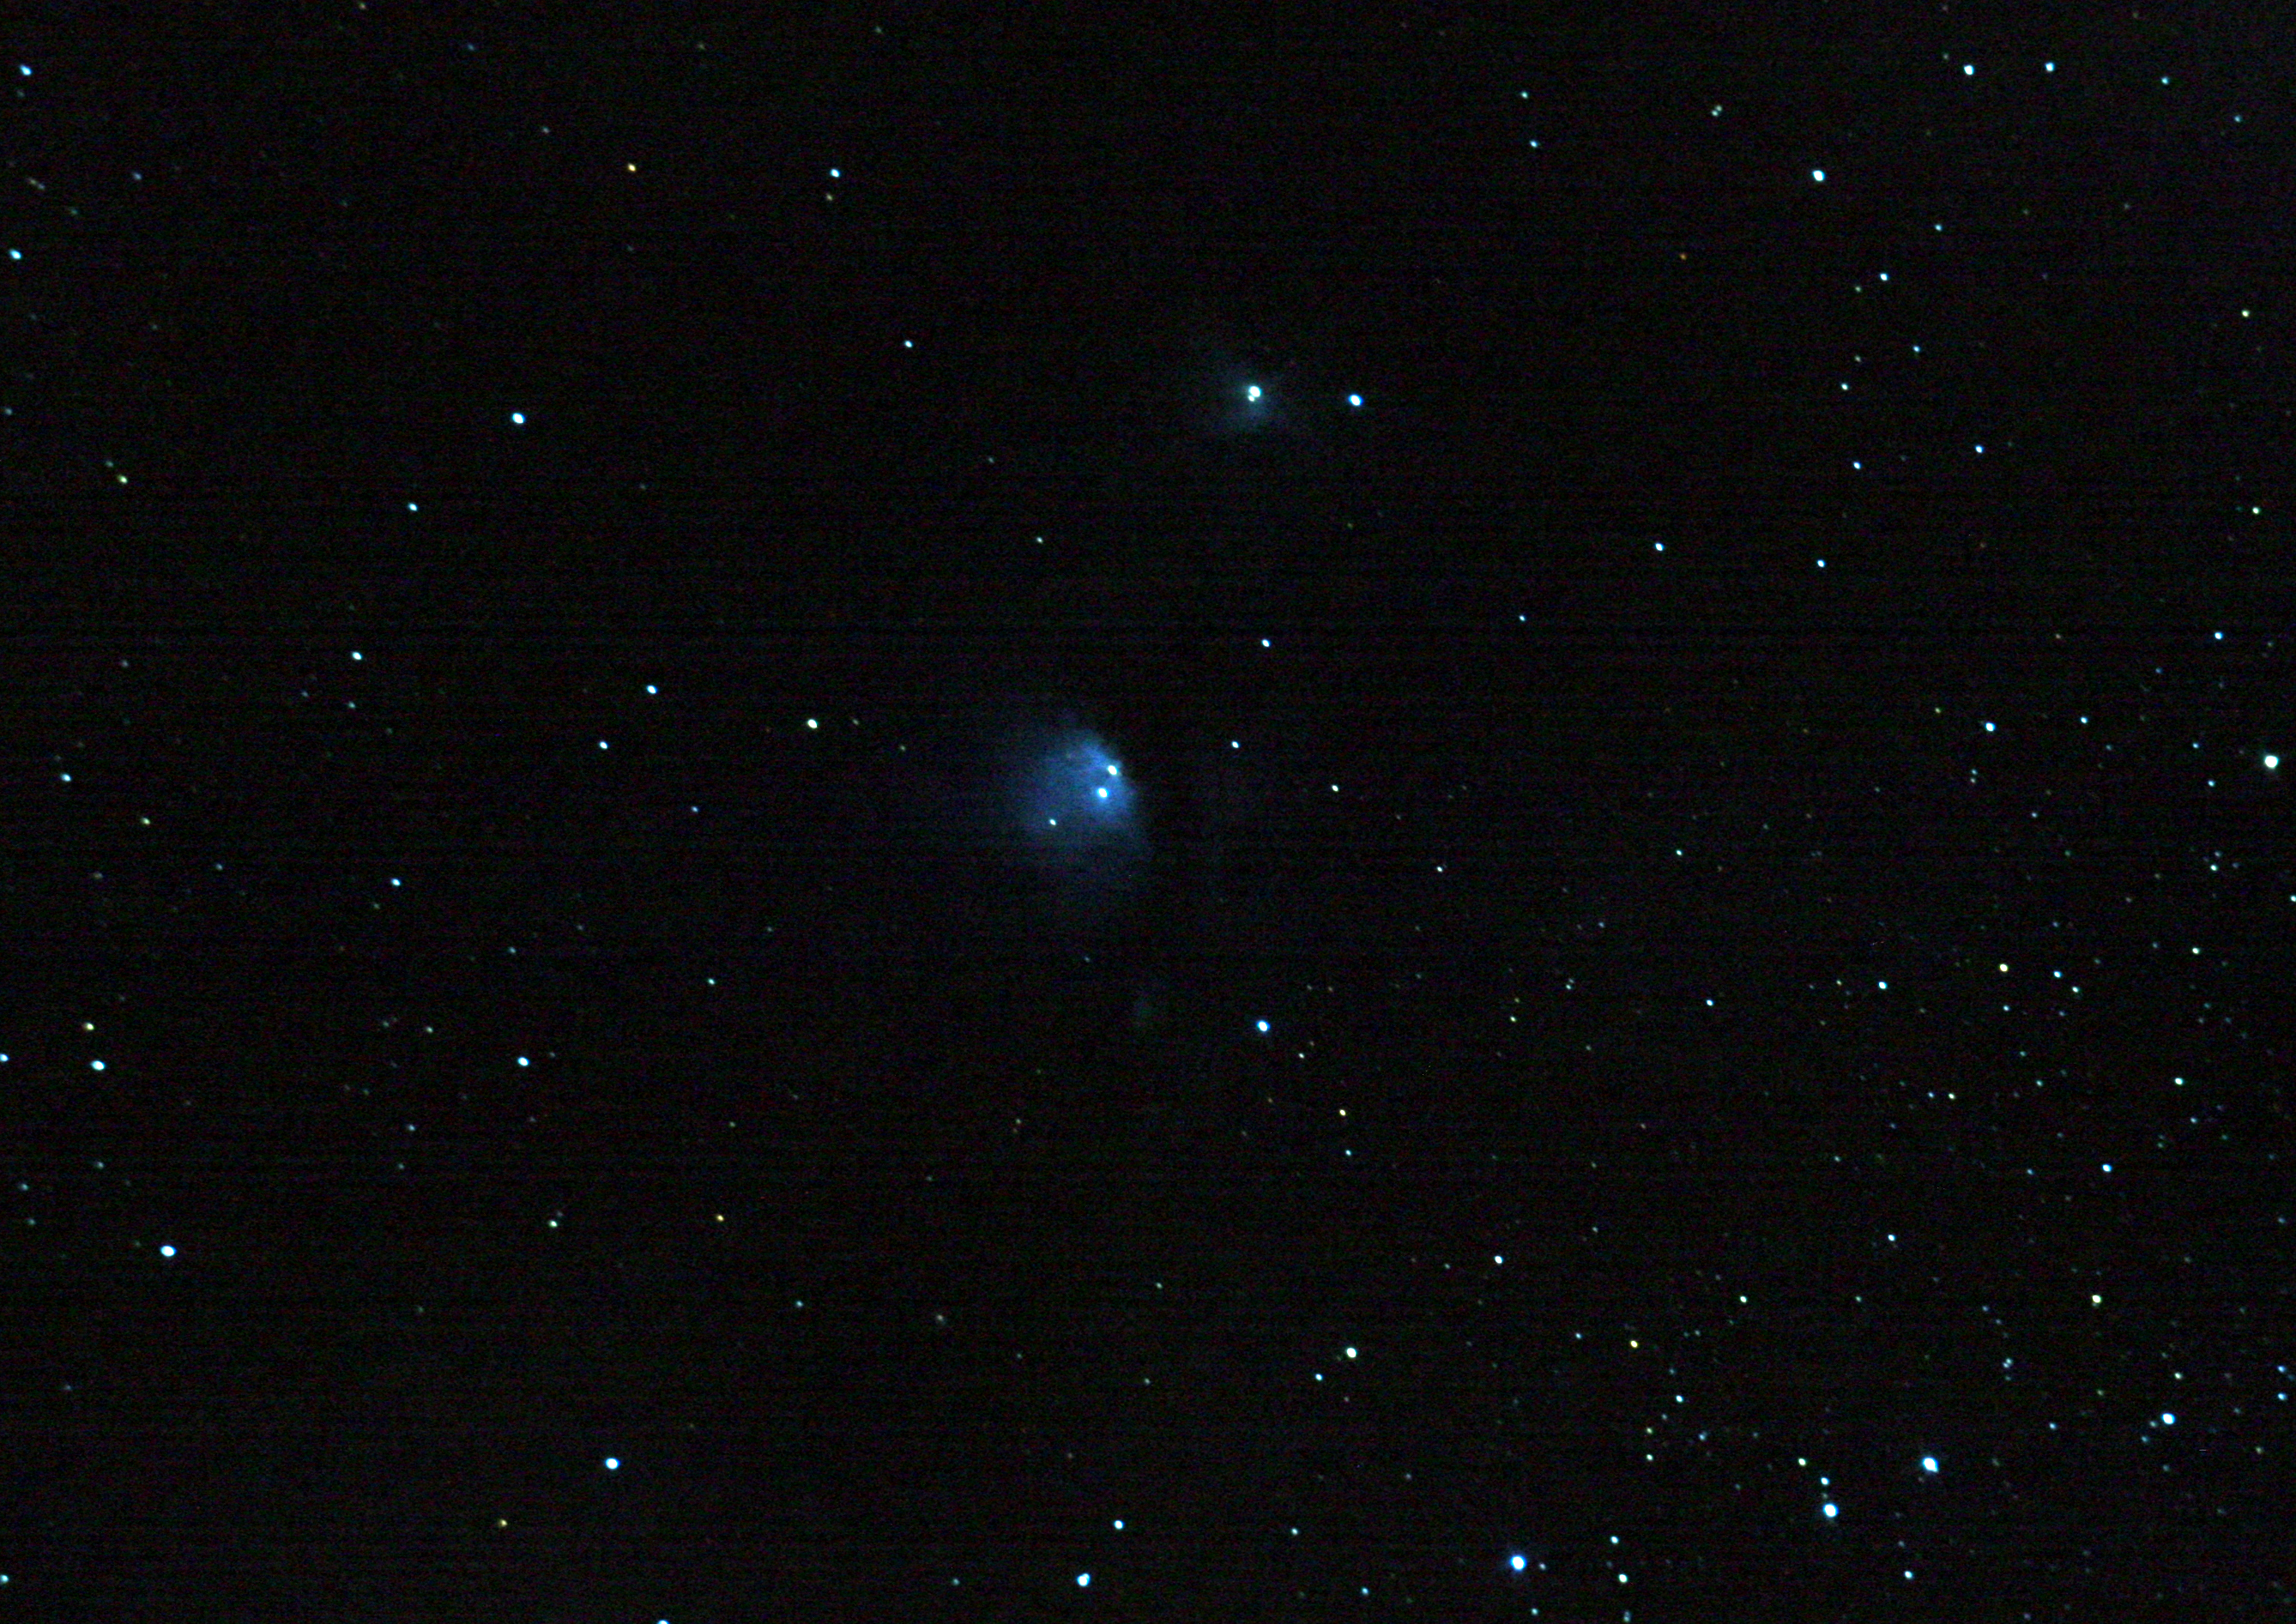
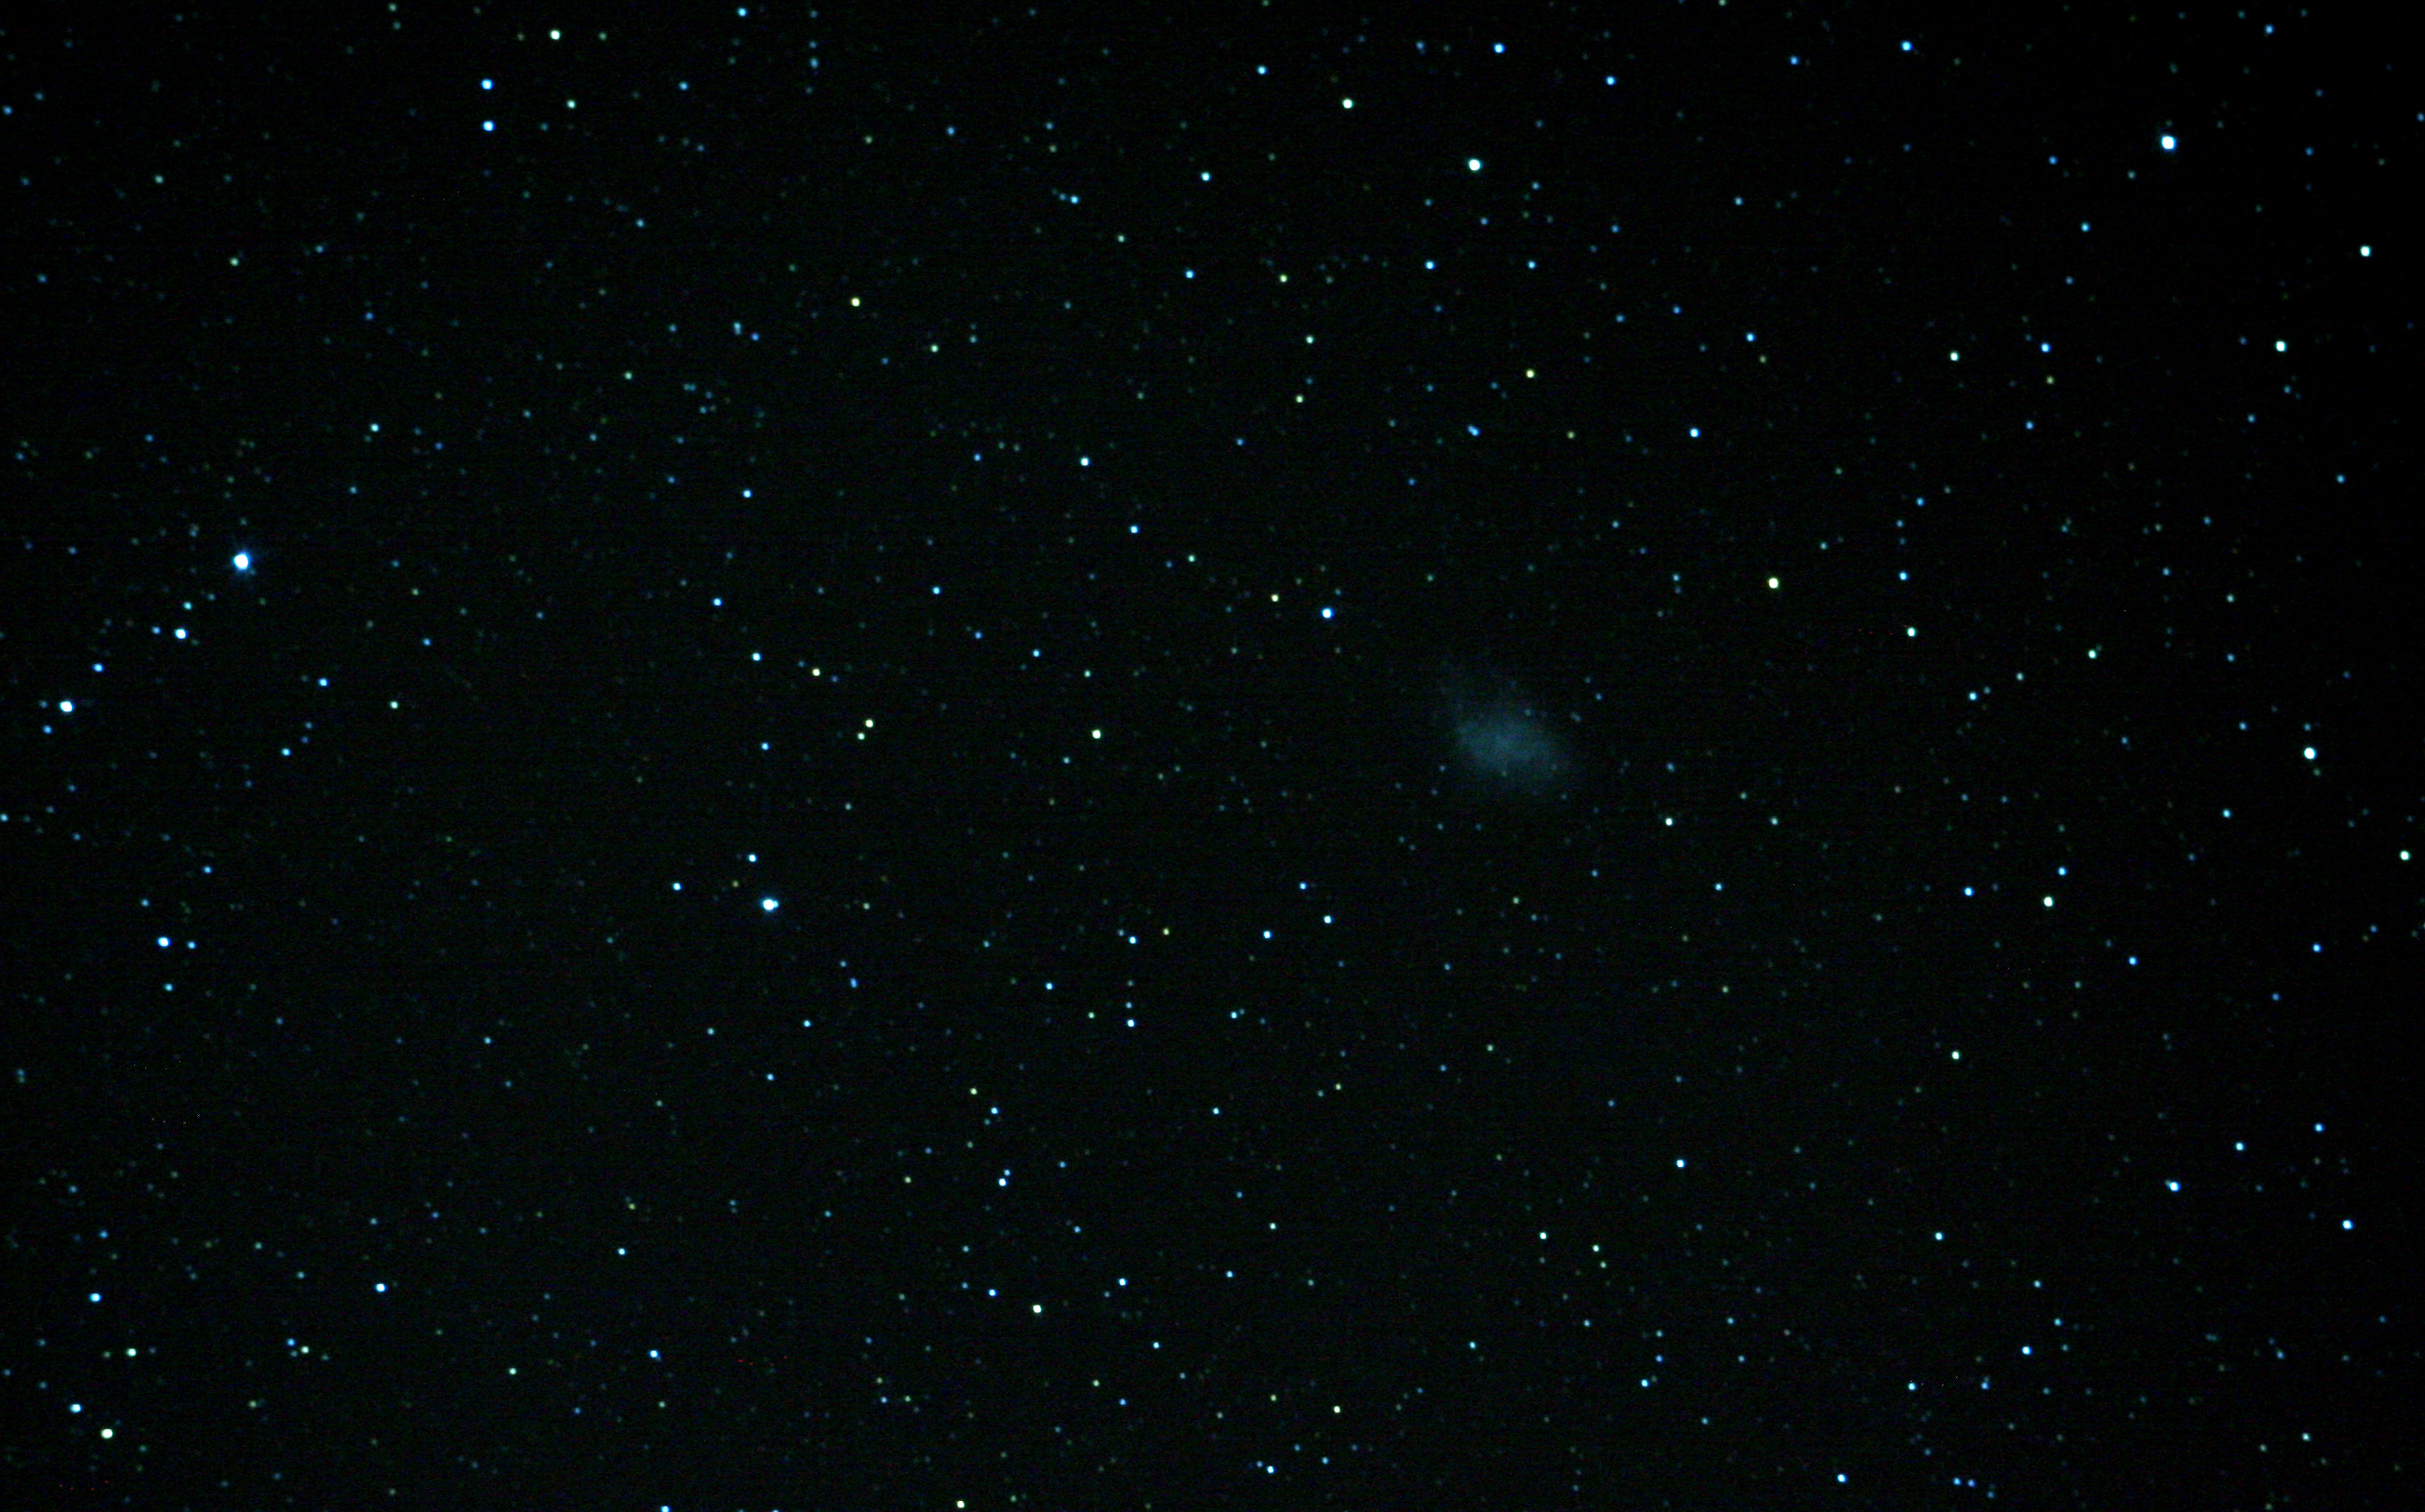
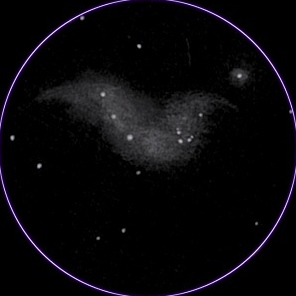
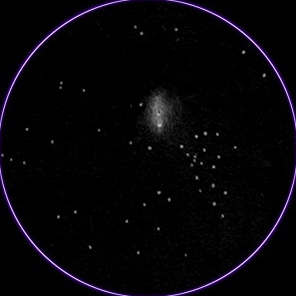
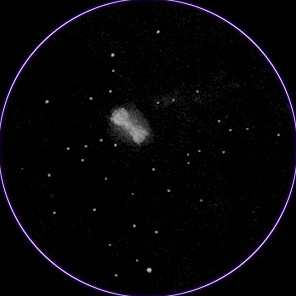
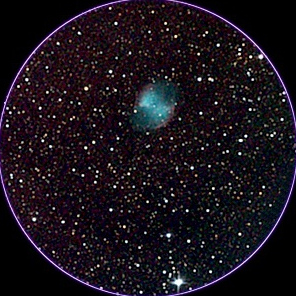
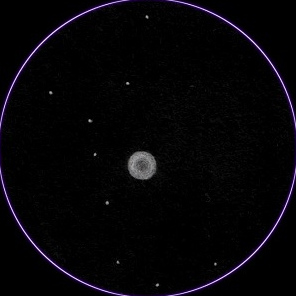
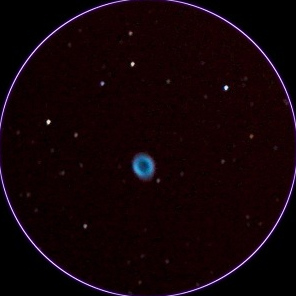
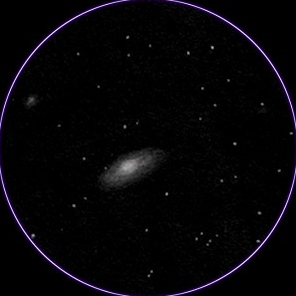
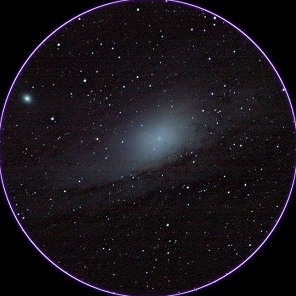
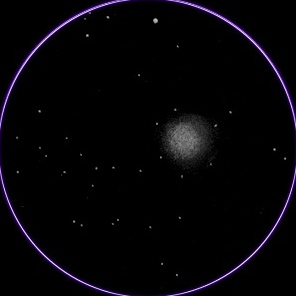
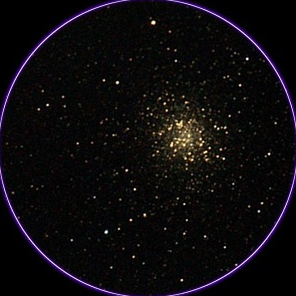
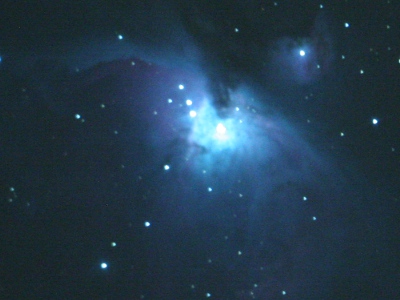
The following pictures show a comparison between the visual observation and the photo of some astronomical objects seen with the same telescope (my newtonian 150/750). For each object the first image is a draw that I achieved watching the object through the eyepiece.
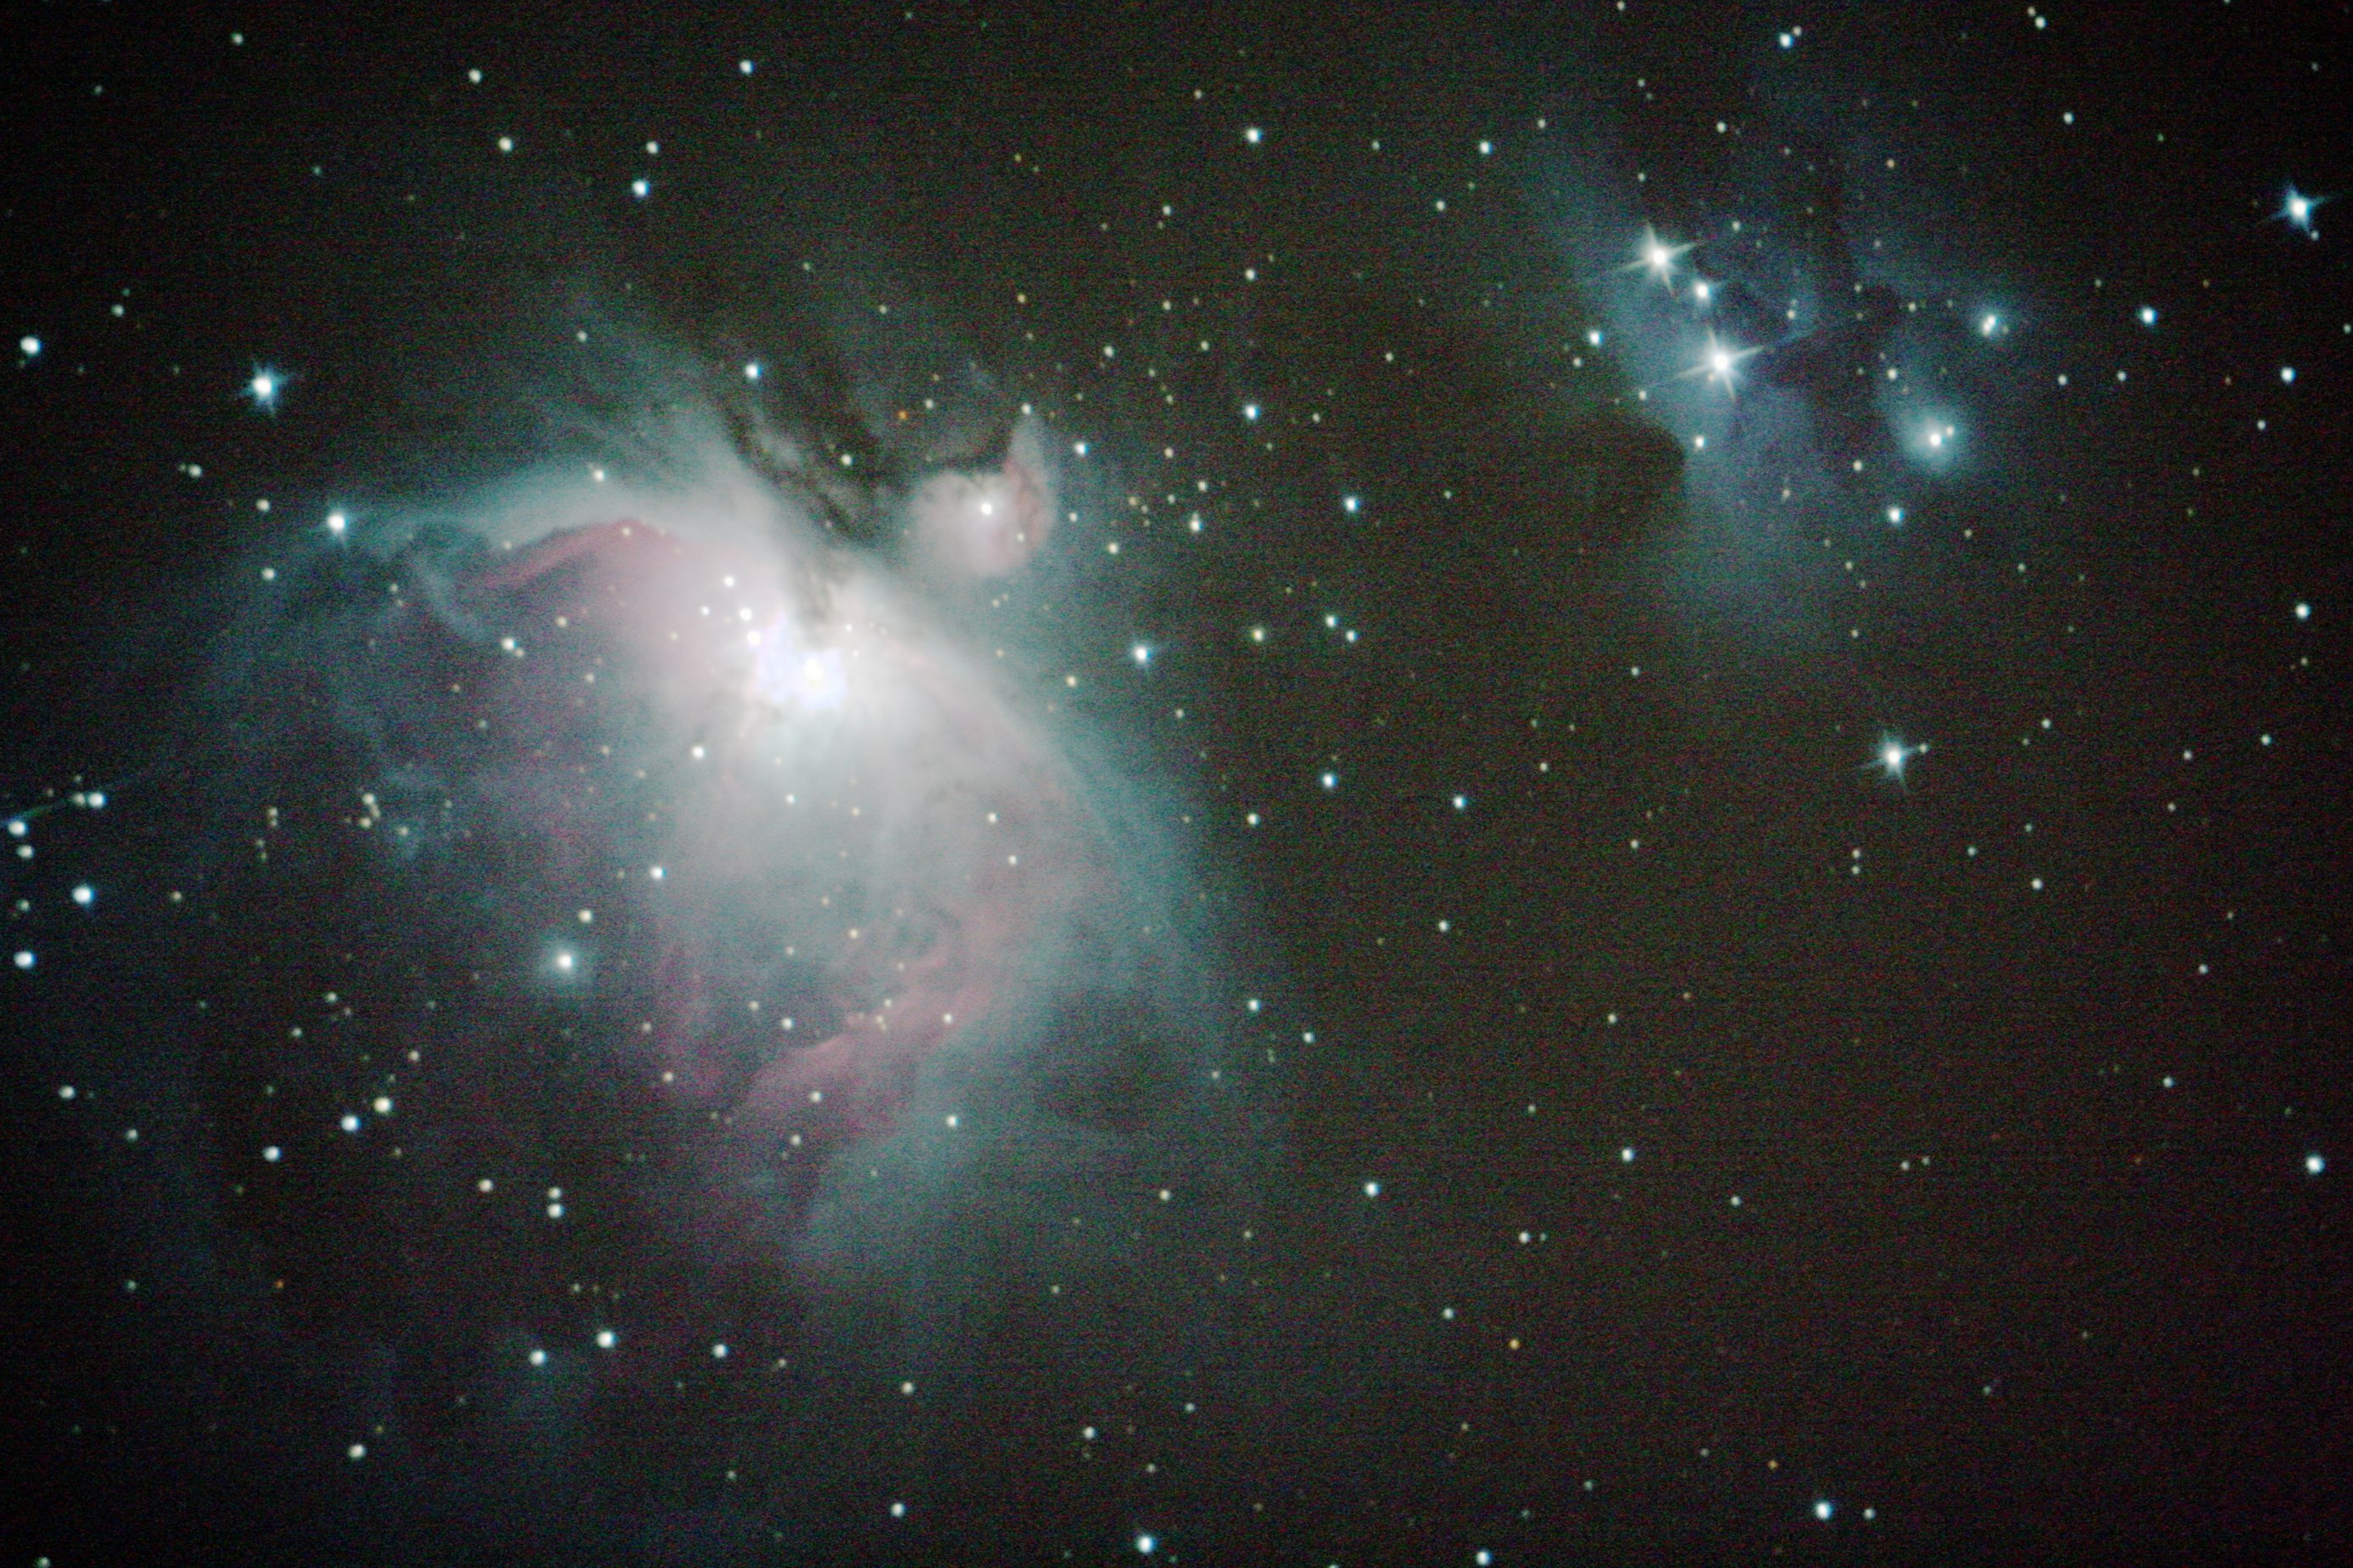
M 42

M 8
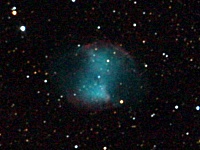
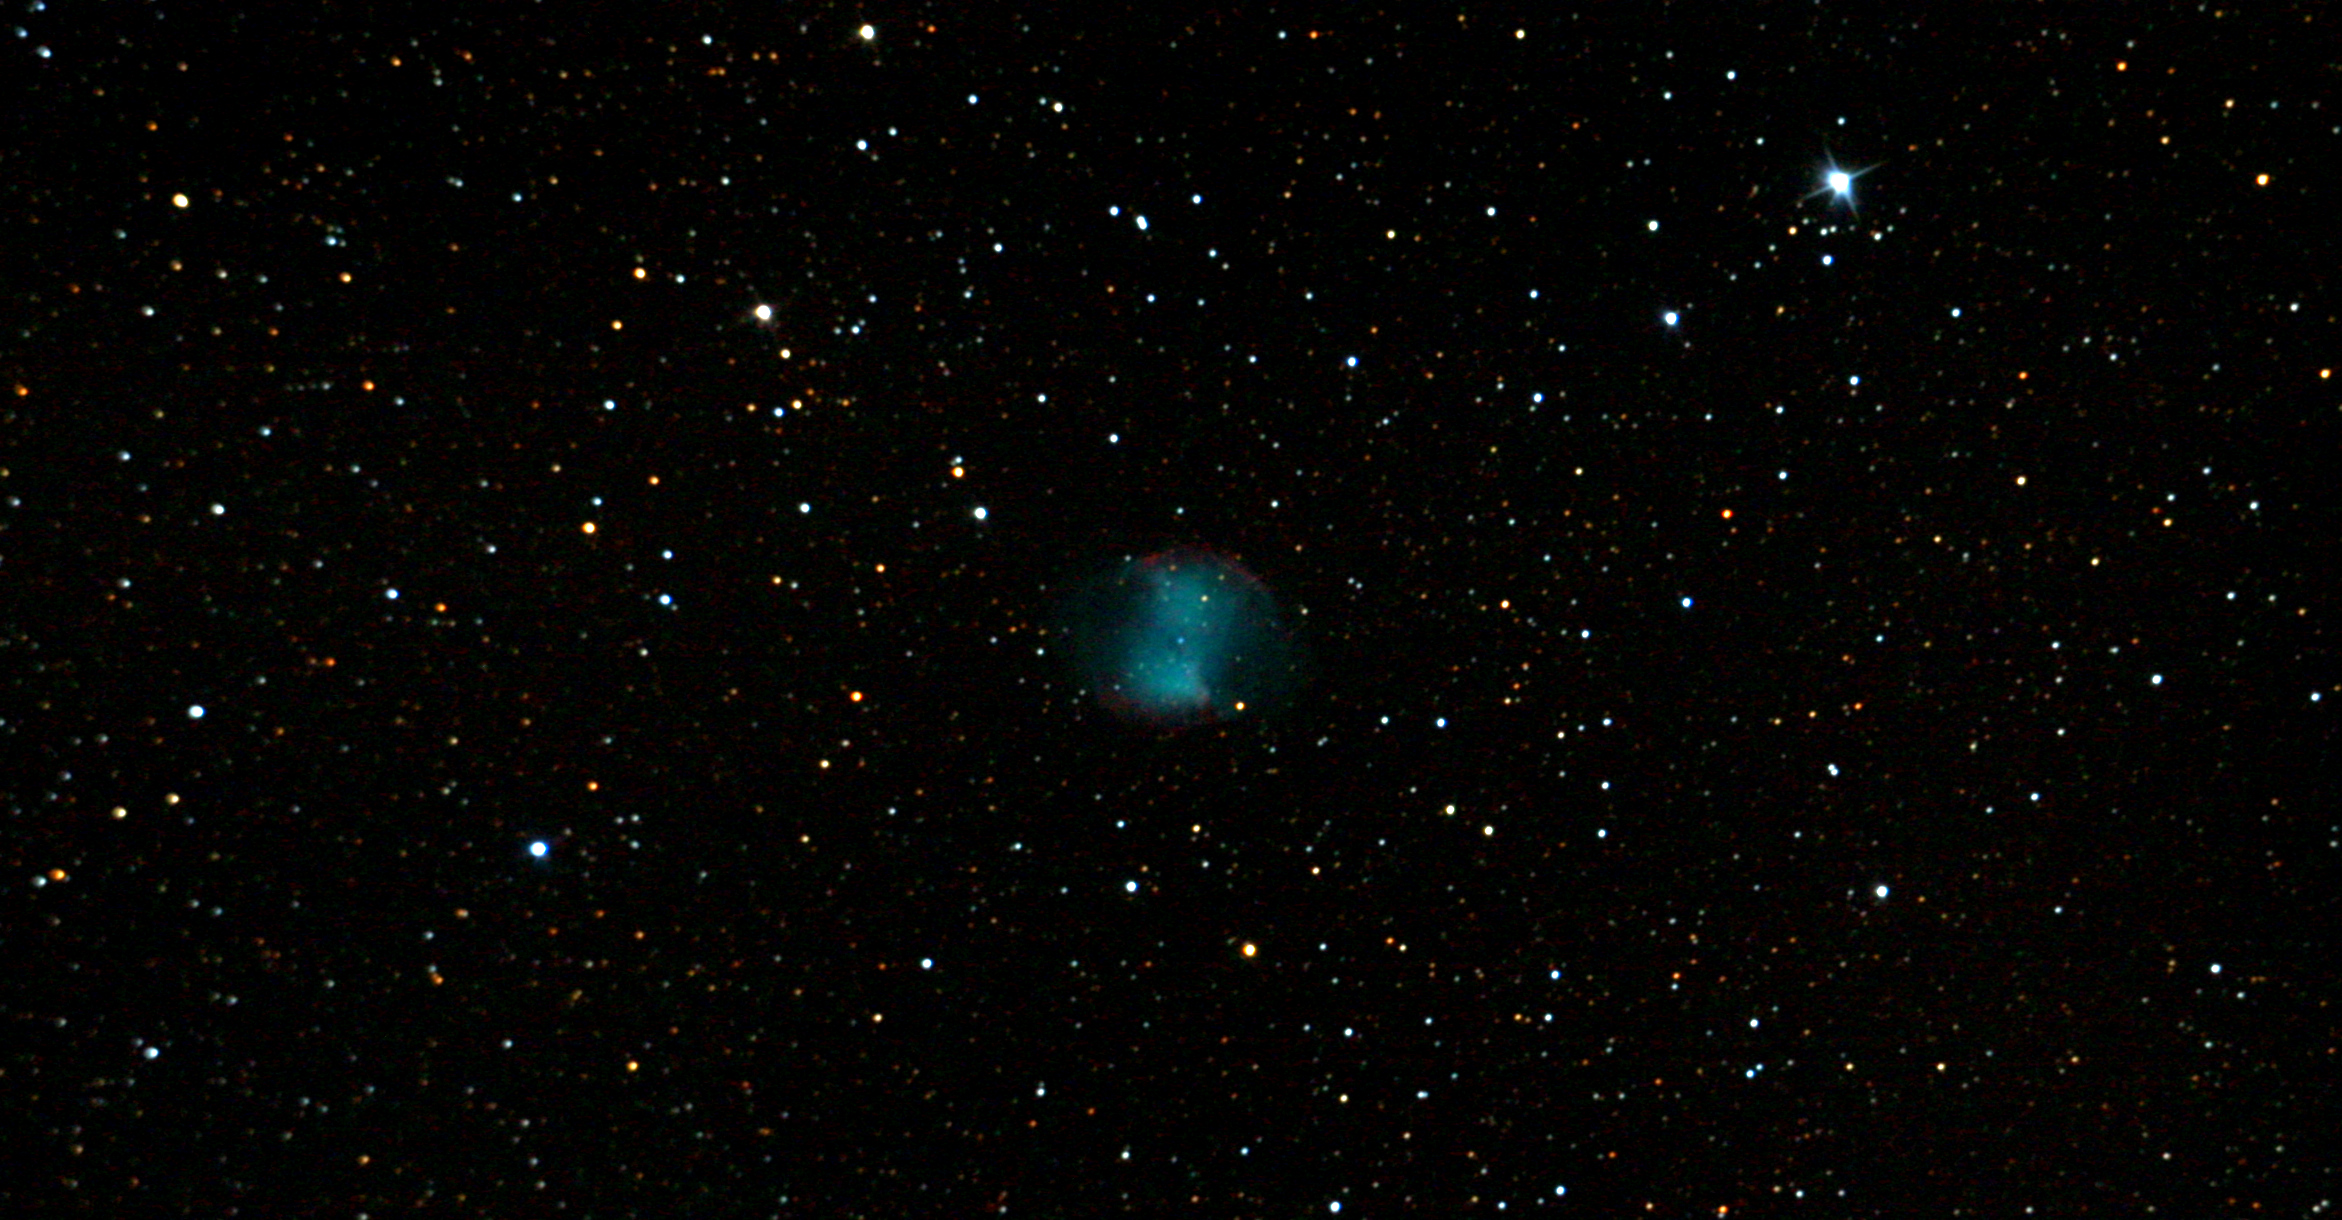
M 27
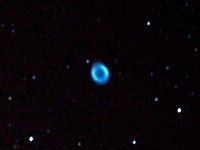
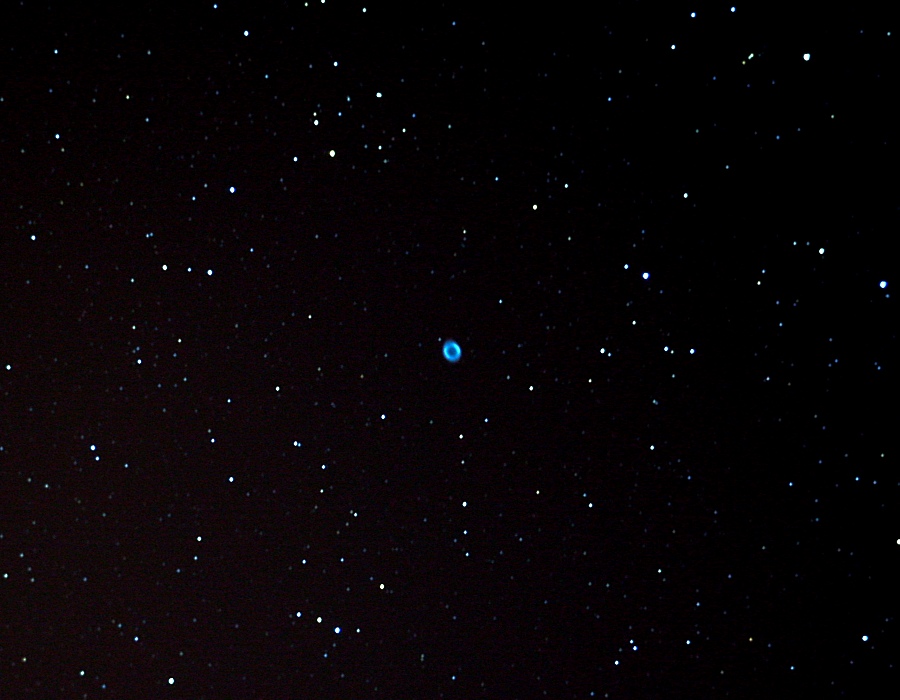
M 57
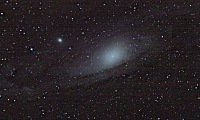
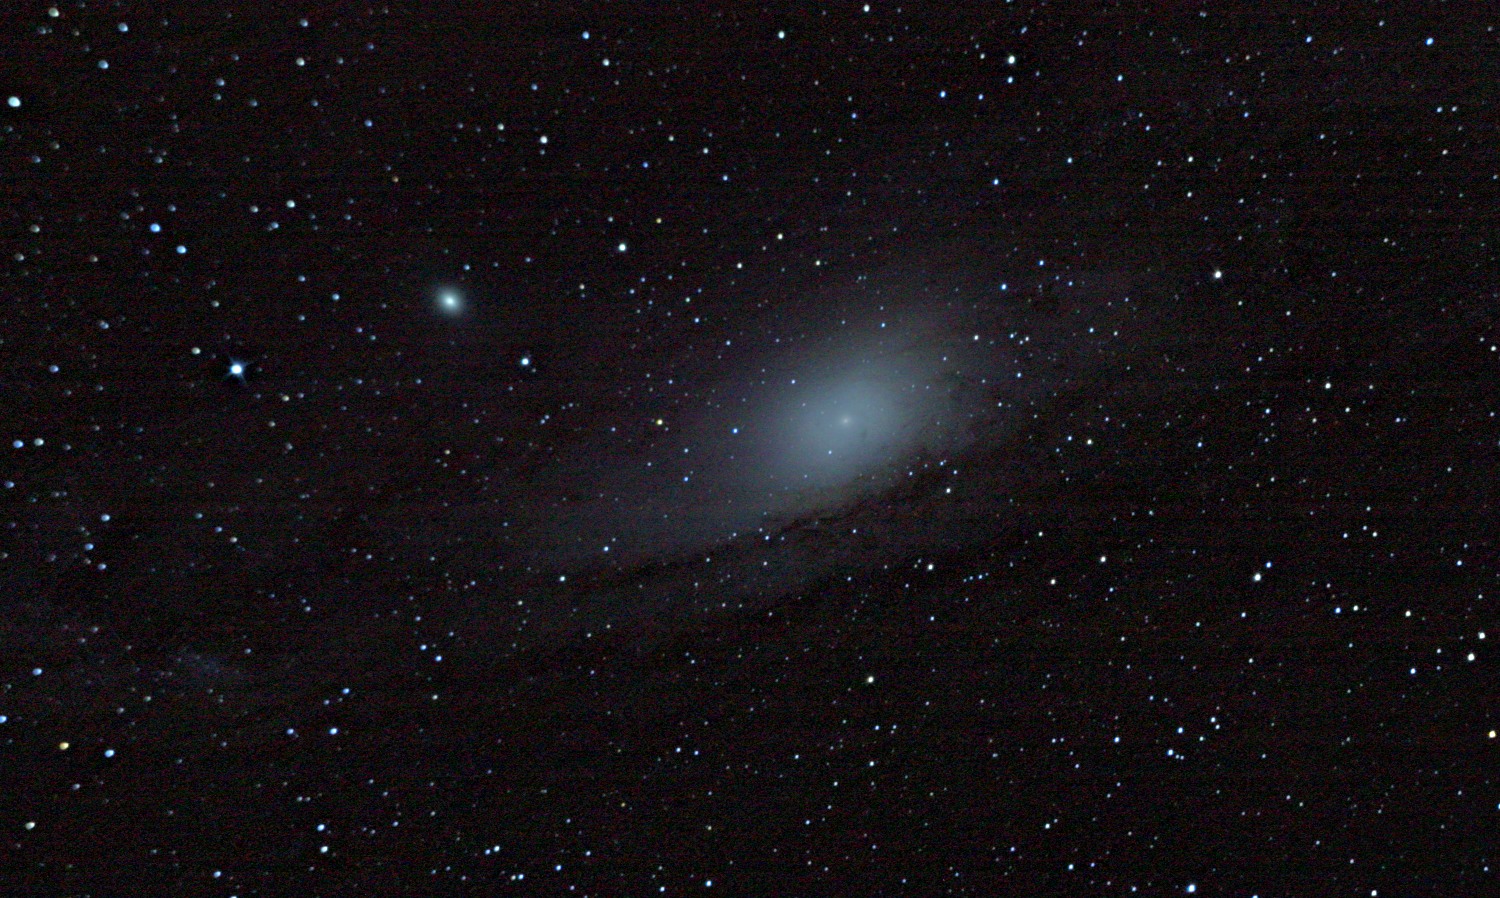
M 31
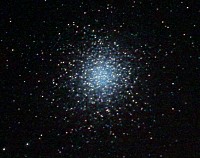
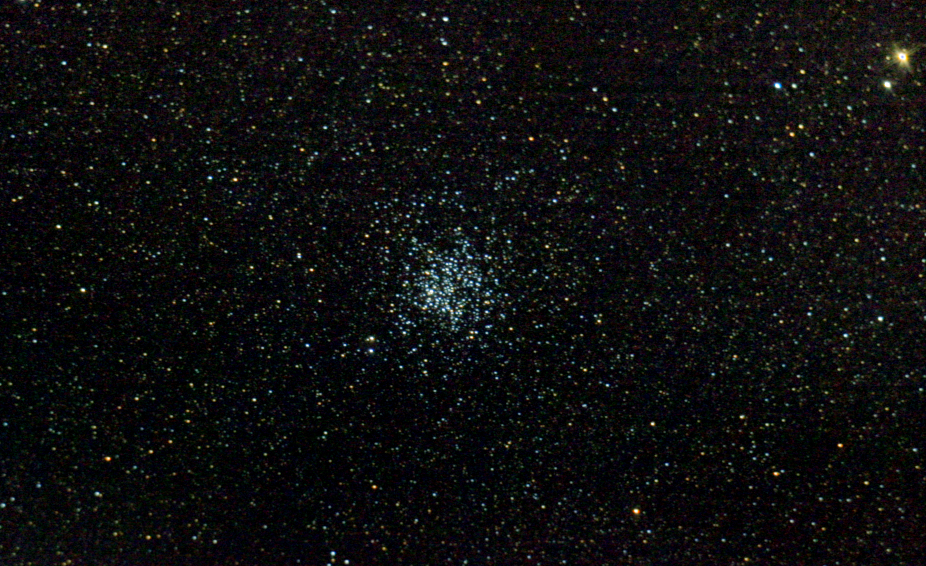
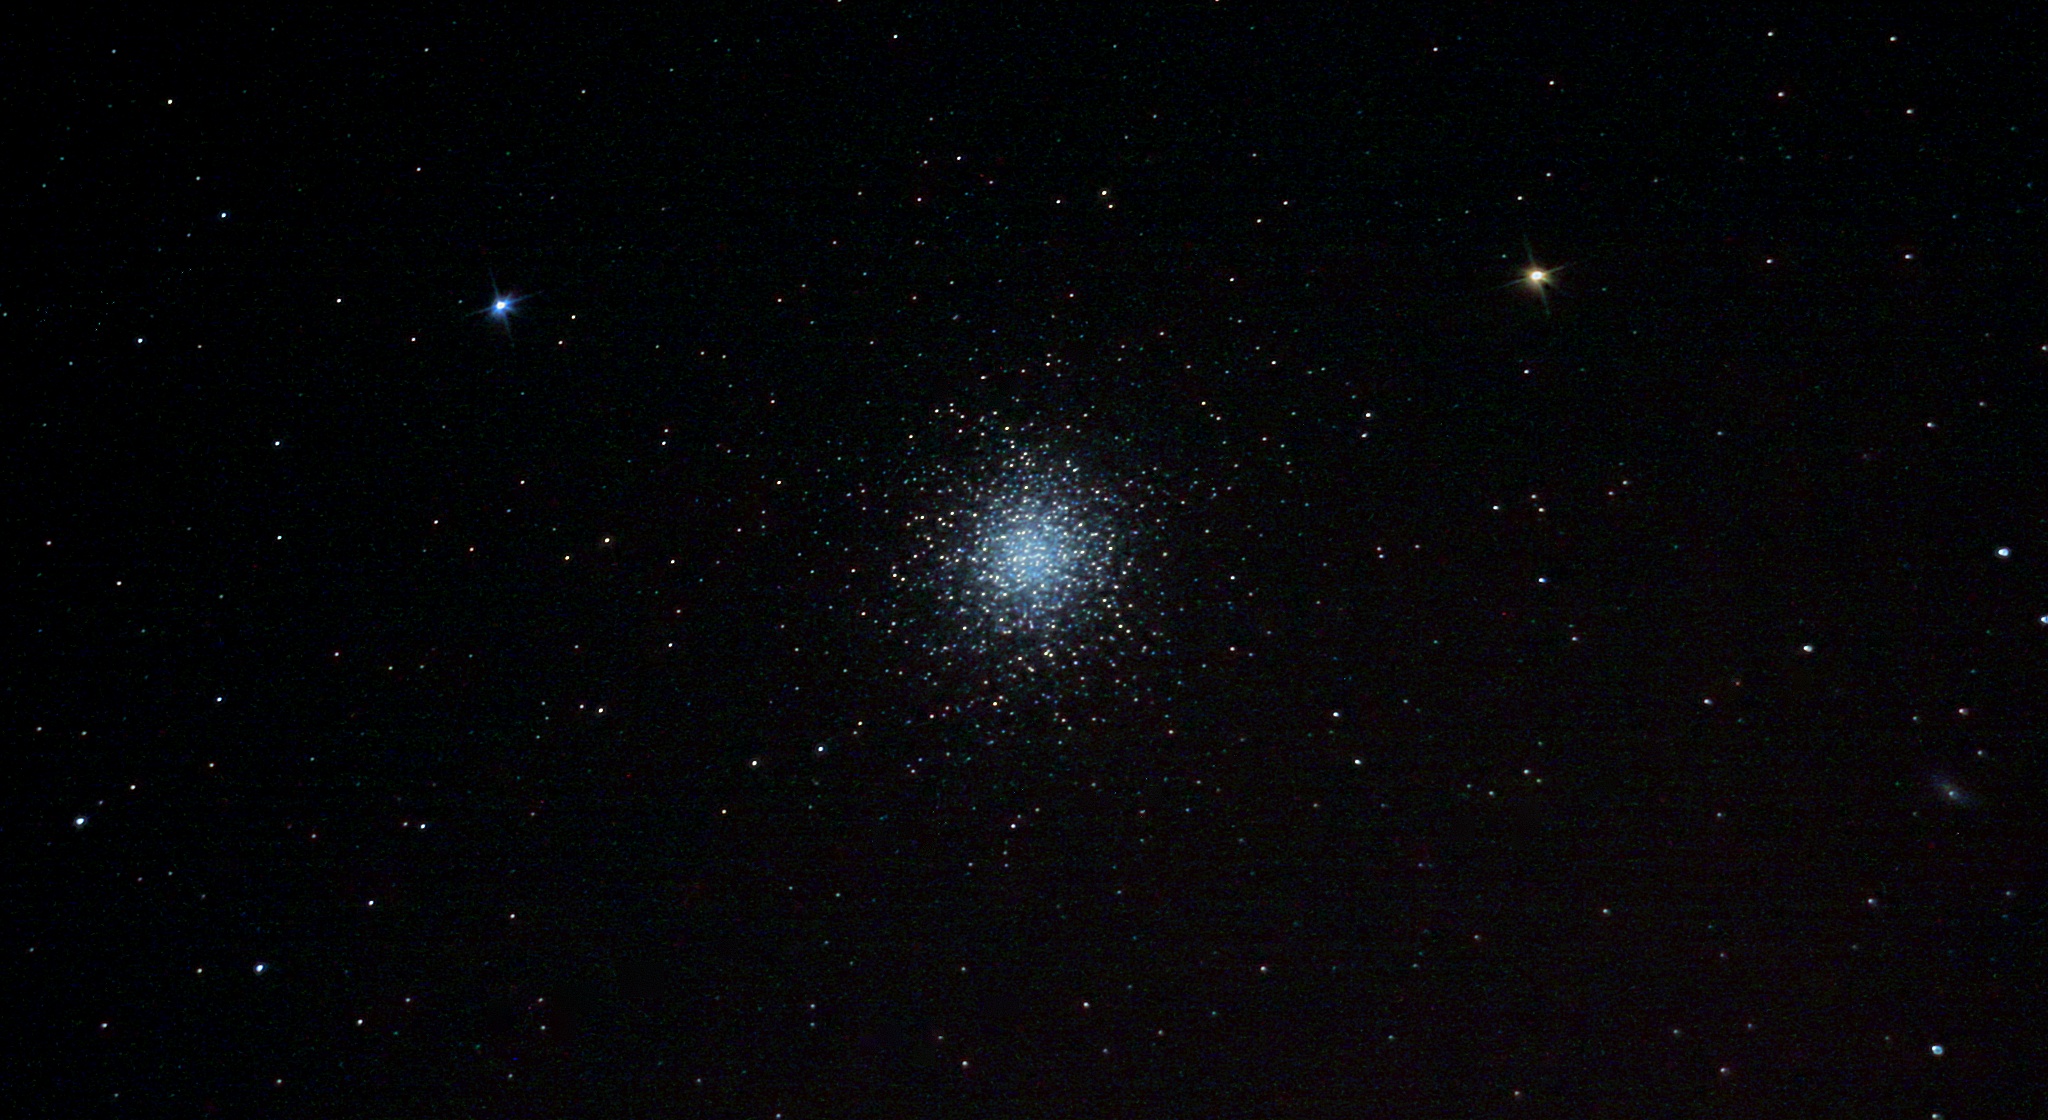
M 22
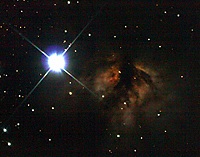
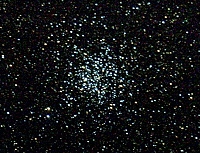
Deepsky photos (nebulas, galaxies, star cluster)
Usually when you take a photo (both with a digital camera, a reflex or a smartphone camera) the CCD sensor is exposed to the light for a short time (for example 1/200 of second). In deepsky astronomical photos the exposure time is much bigger (from some seconds to several hours). In this way the sensor can collect the light of faint objects such nebulas and galaxies.
It is possible to compare our eyes to a camera sensor, even if there are some differences. Studies show that the human eye can reach an approximately 60.000 ISO film speed, that is much more the main reflex film speed. However the eye “exposure time” is only 1/60 second, while a camera can have an arbitrary exposure time and so it can collect much more light.
The lack of colours is also caused by the human eyes features. In fact, our eyes have 2 kinds of cell, called cones and rods. Cones are sensitive to colours but they don’t work well at low brightness, while rods can’t see colours but they are good also at low brightness. So we see faint astronomical objects mainly with rods and they appear us uncoloured.
Another aspect that should be considered is the fact that astronomical photos are usually heavily processed using dedicated software.
Usually an astronomical photo is the sum of several shots (typically dozen of photos are put together). The resulting image is somehow equivalent to an image with a longer exposure. This can be useful because the physical possible exposure time could be limited by instruments features. For example the telescope must have motors to compensate the Earth motion, but this motors can’t keep the telescope centered on the object forever and this affects maximum exposure time too.
Another processing advantage is the possibility to reduce image noise and apply filters to improve the photo quality.
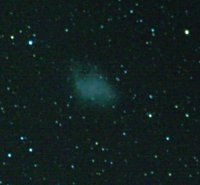
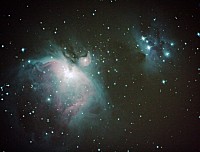
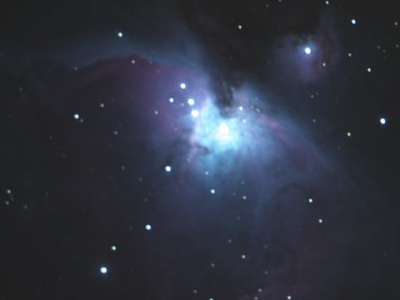
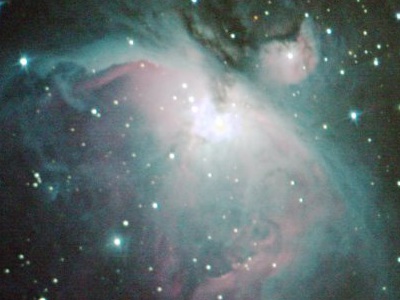
The following images show various versions of M42, the Great Orion Nebula, obtained with the same telescope. The software used for processing is Iris.
Light pollution
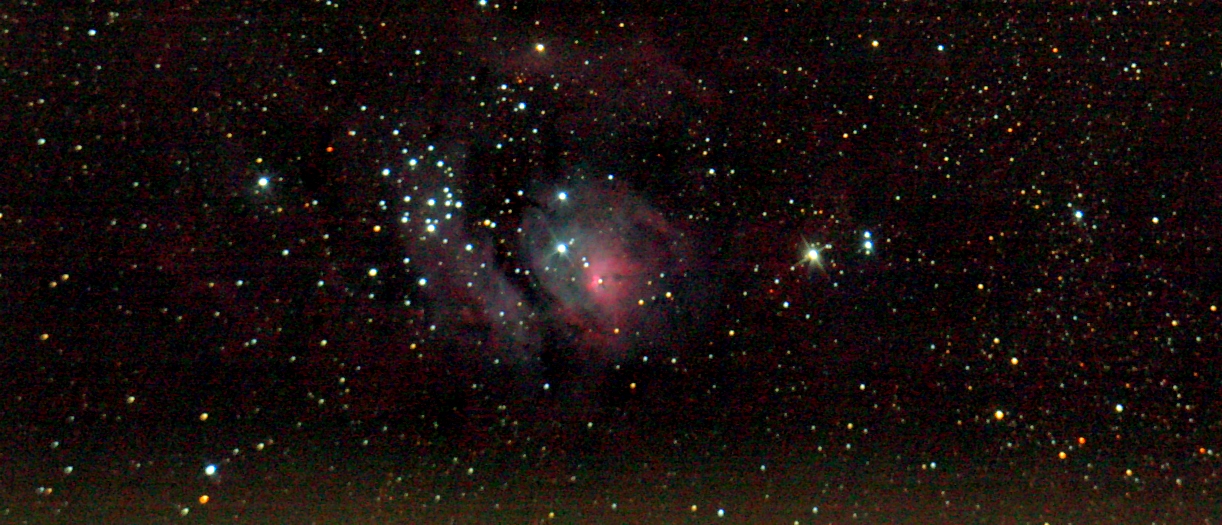
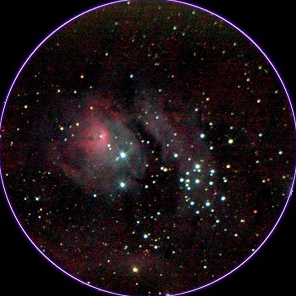
Another challenge comes from artificial lights of out cities. To show you how difficult is to reveal this nebula from a light polluted area I list here this sequence of images that show the main processing phases of my Rosette Nebula picture.


Moon and planets photos
Technique of images sum is used for Moon and planets too. However in this case the main purpose is not to simulate a photo with a longer exposure (since these objects are bright enough), but to reduce sensor noise and images distortions caused by atmospheric turbulence. Indeed these objects are usually photographed using higher magnification, so these photos are affected by the turbulence more than the deepsky ones.
Moreover in these cases the reflex is usually substituted by a webcam. These can seem strange but actually is quite useful because one can take a video and sum its frames instead of taking a lot of photos.